Shell Craft Ideas
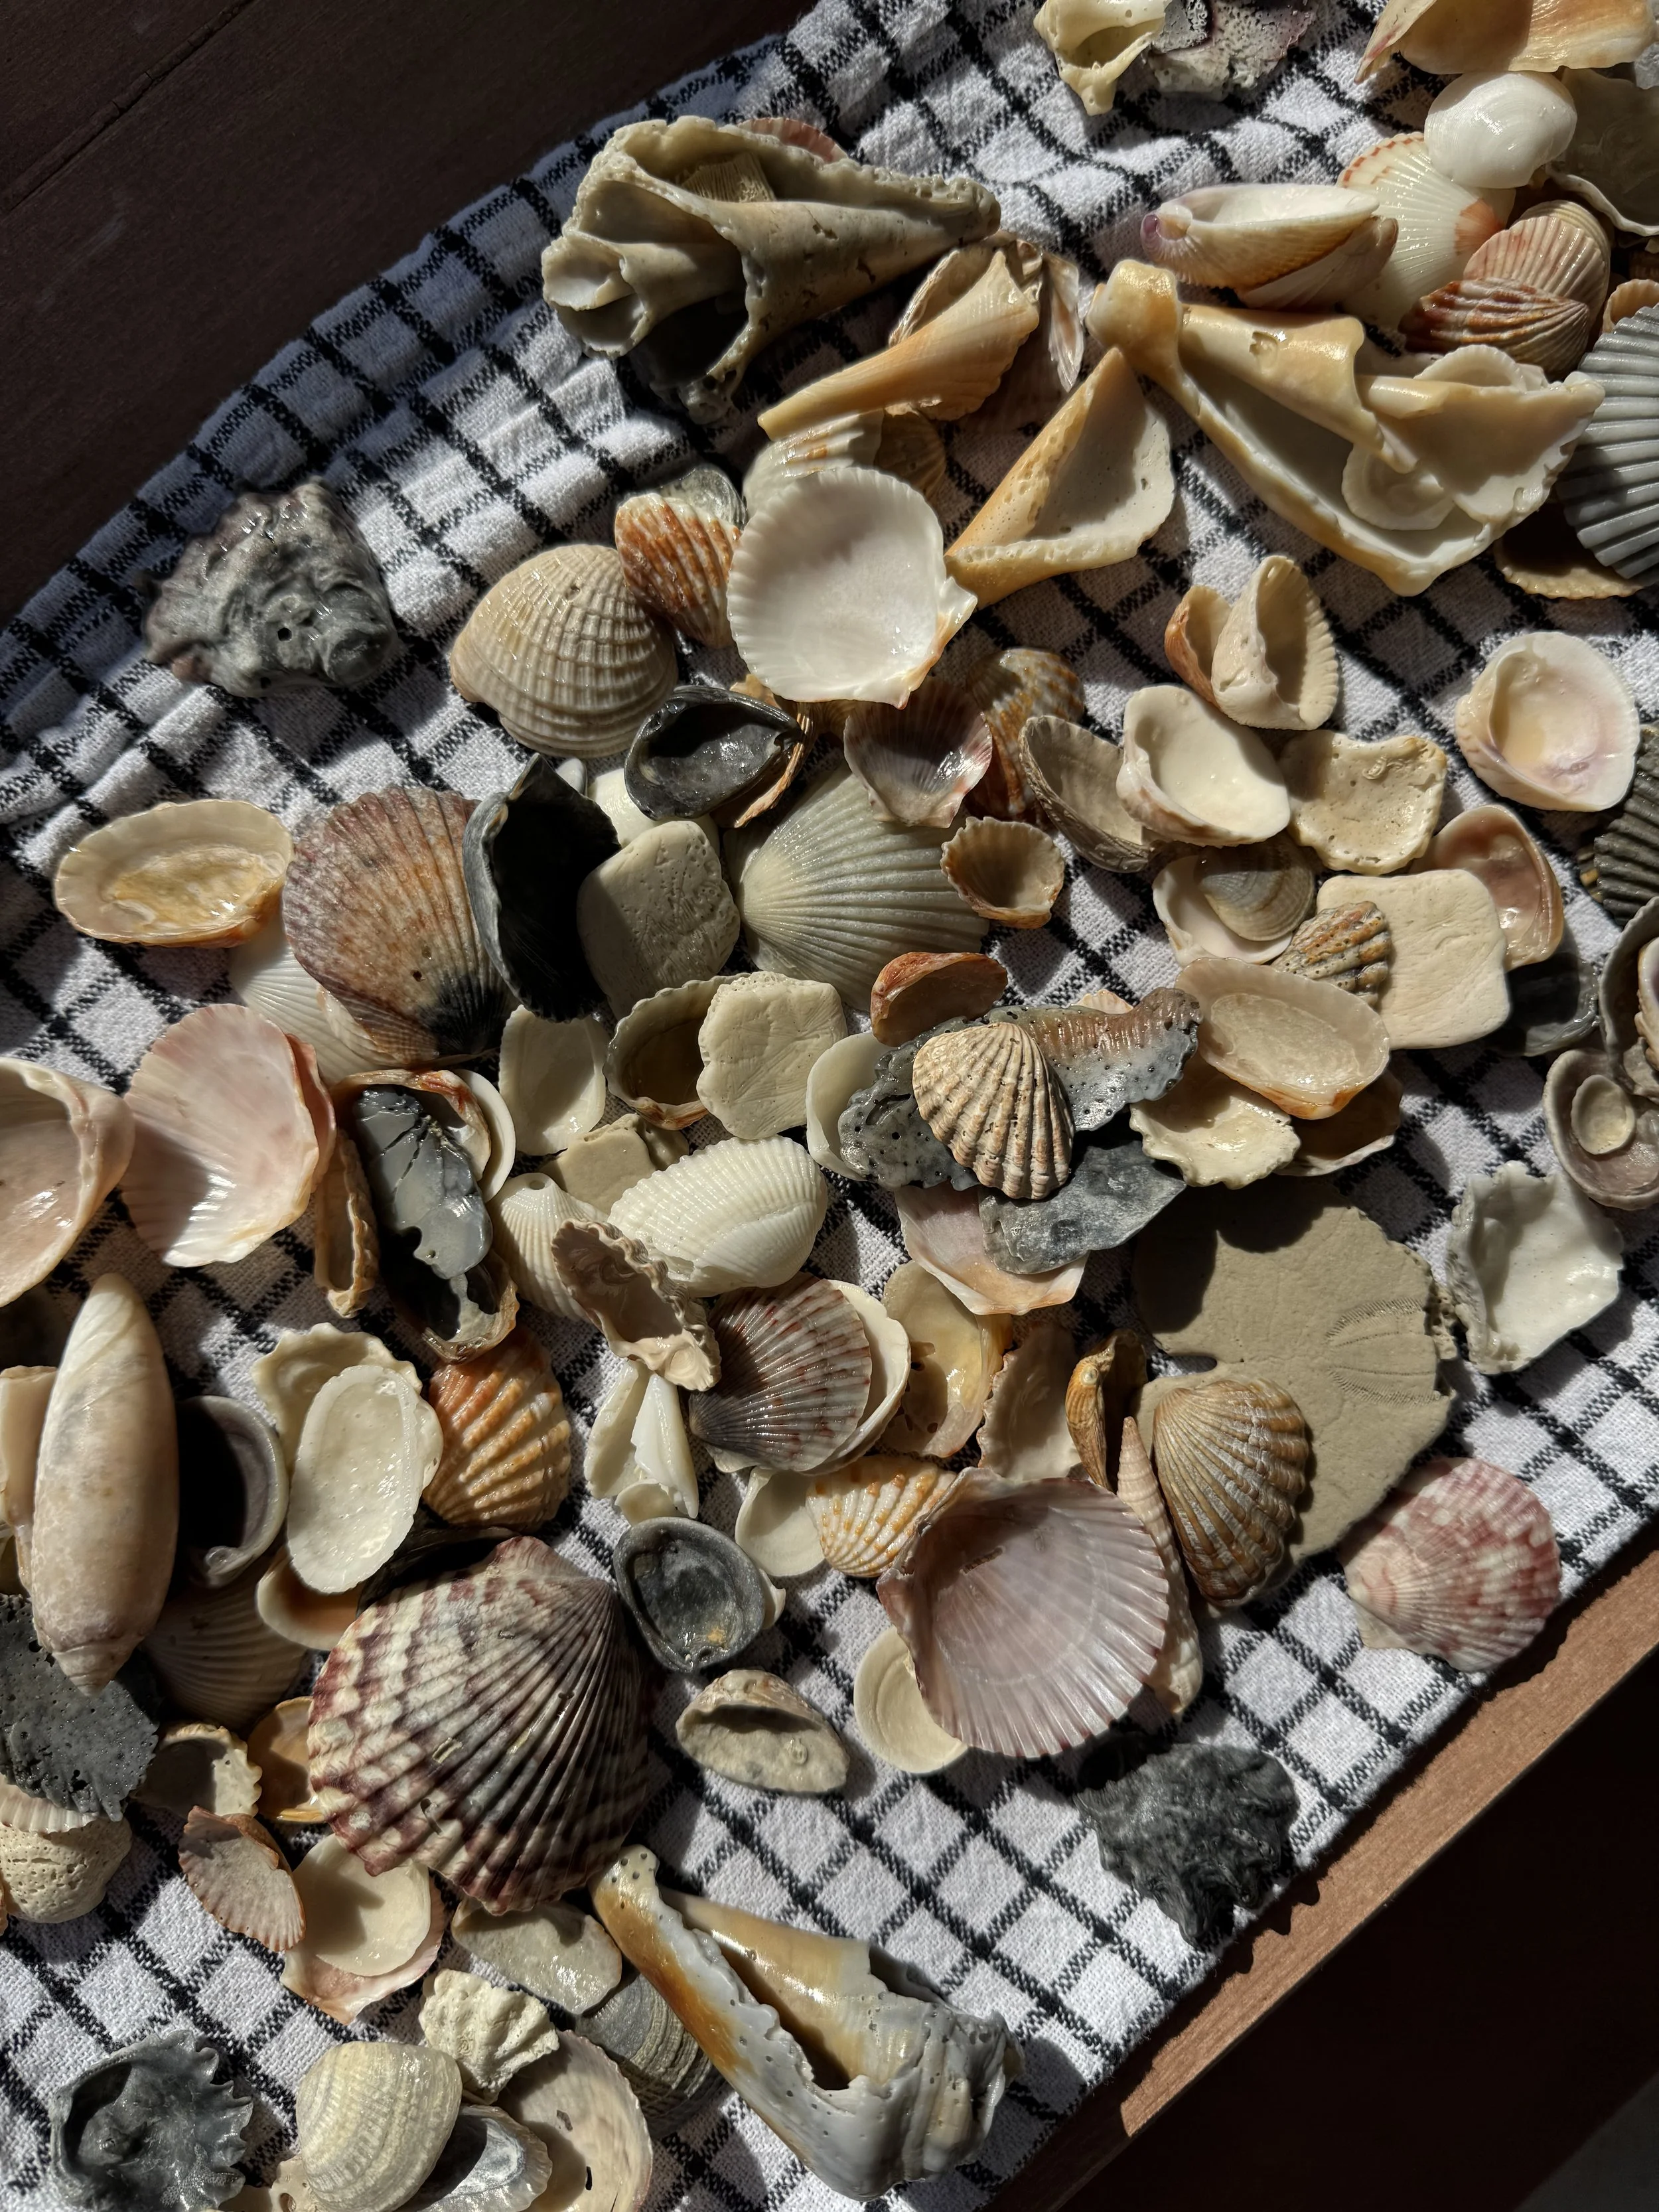
This year, during our annual trip to Rosemary Beach, we had the unfortunate timing of meeting Tropical Storm Bertha. However, as much as the rain + big waves made for a bummer time the first few days, there was something new we got to experience on the other side of her…. tons of seashells on the white, sandy beaches!
Normally when we go to Florida, there aren’t many shells, and looking for them isn’t something we spend a lot of time doing. But, Bertha brought it some beautiful ones and Davis and I had so much fun collecting them in our buckets each morning.
When we got home, we washed them off and I was determined to try to make some fun crafts out of them that we would actually use in our home instead of sitting in a Ziploc bag somewhere. So, here are the projects we made:
-Seashell Magnets
-Seashell Artwork
-And, yet to come (but will update this post when we do), a Seashell Stepping Stone with Davis’s footprint that will also be a birthday gift for grandma!
Supplies:
-Hot glue gun
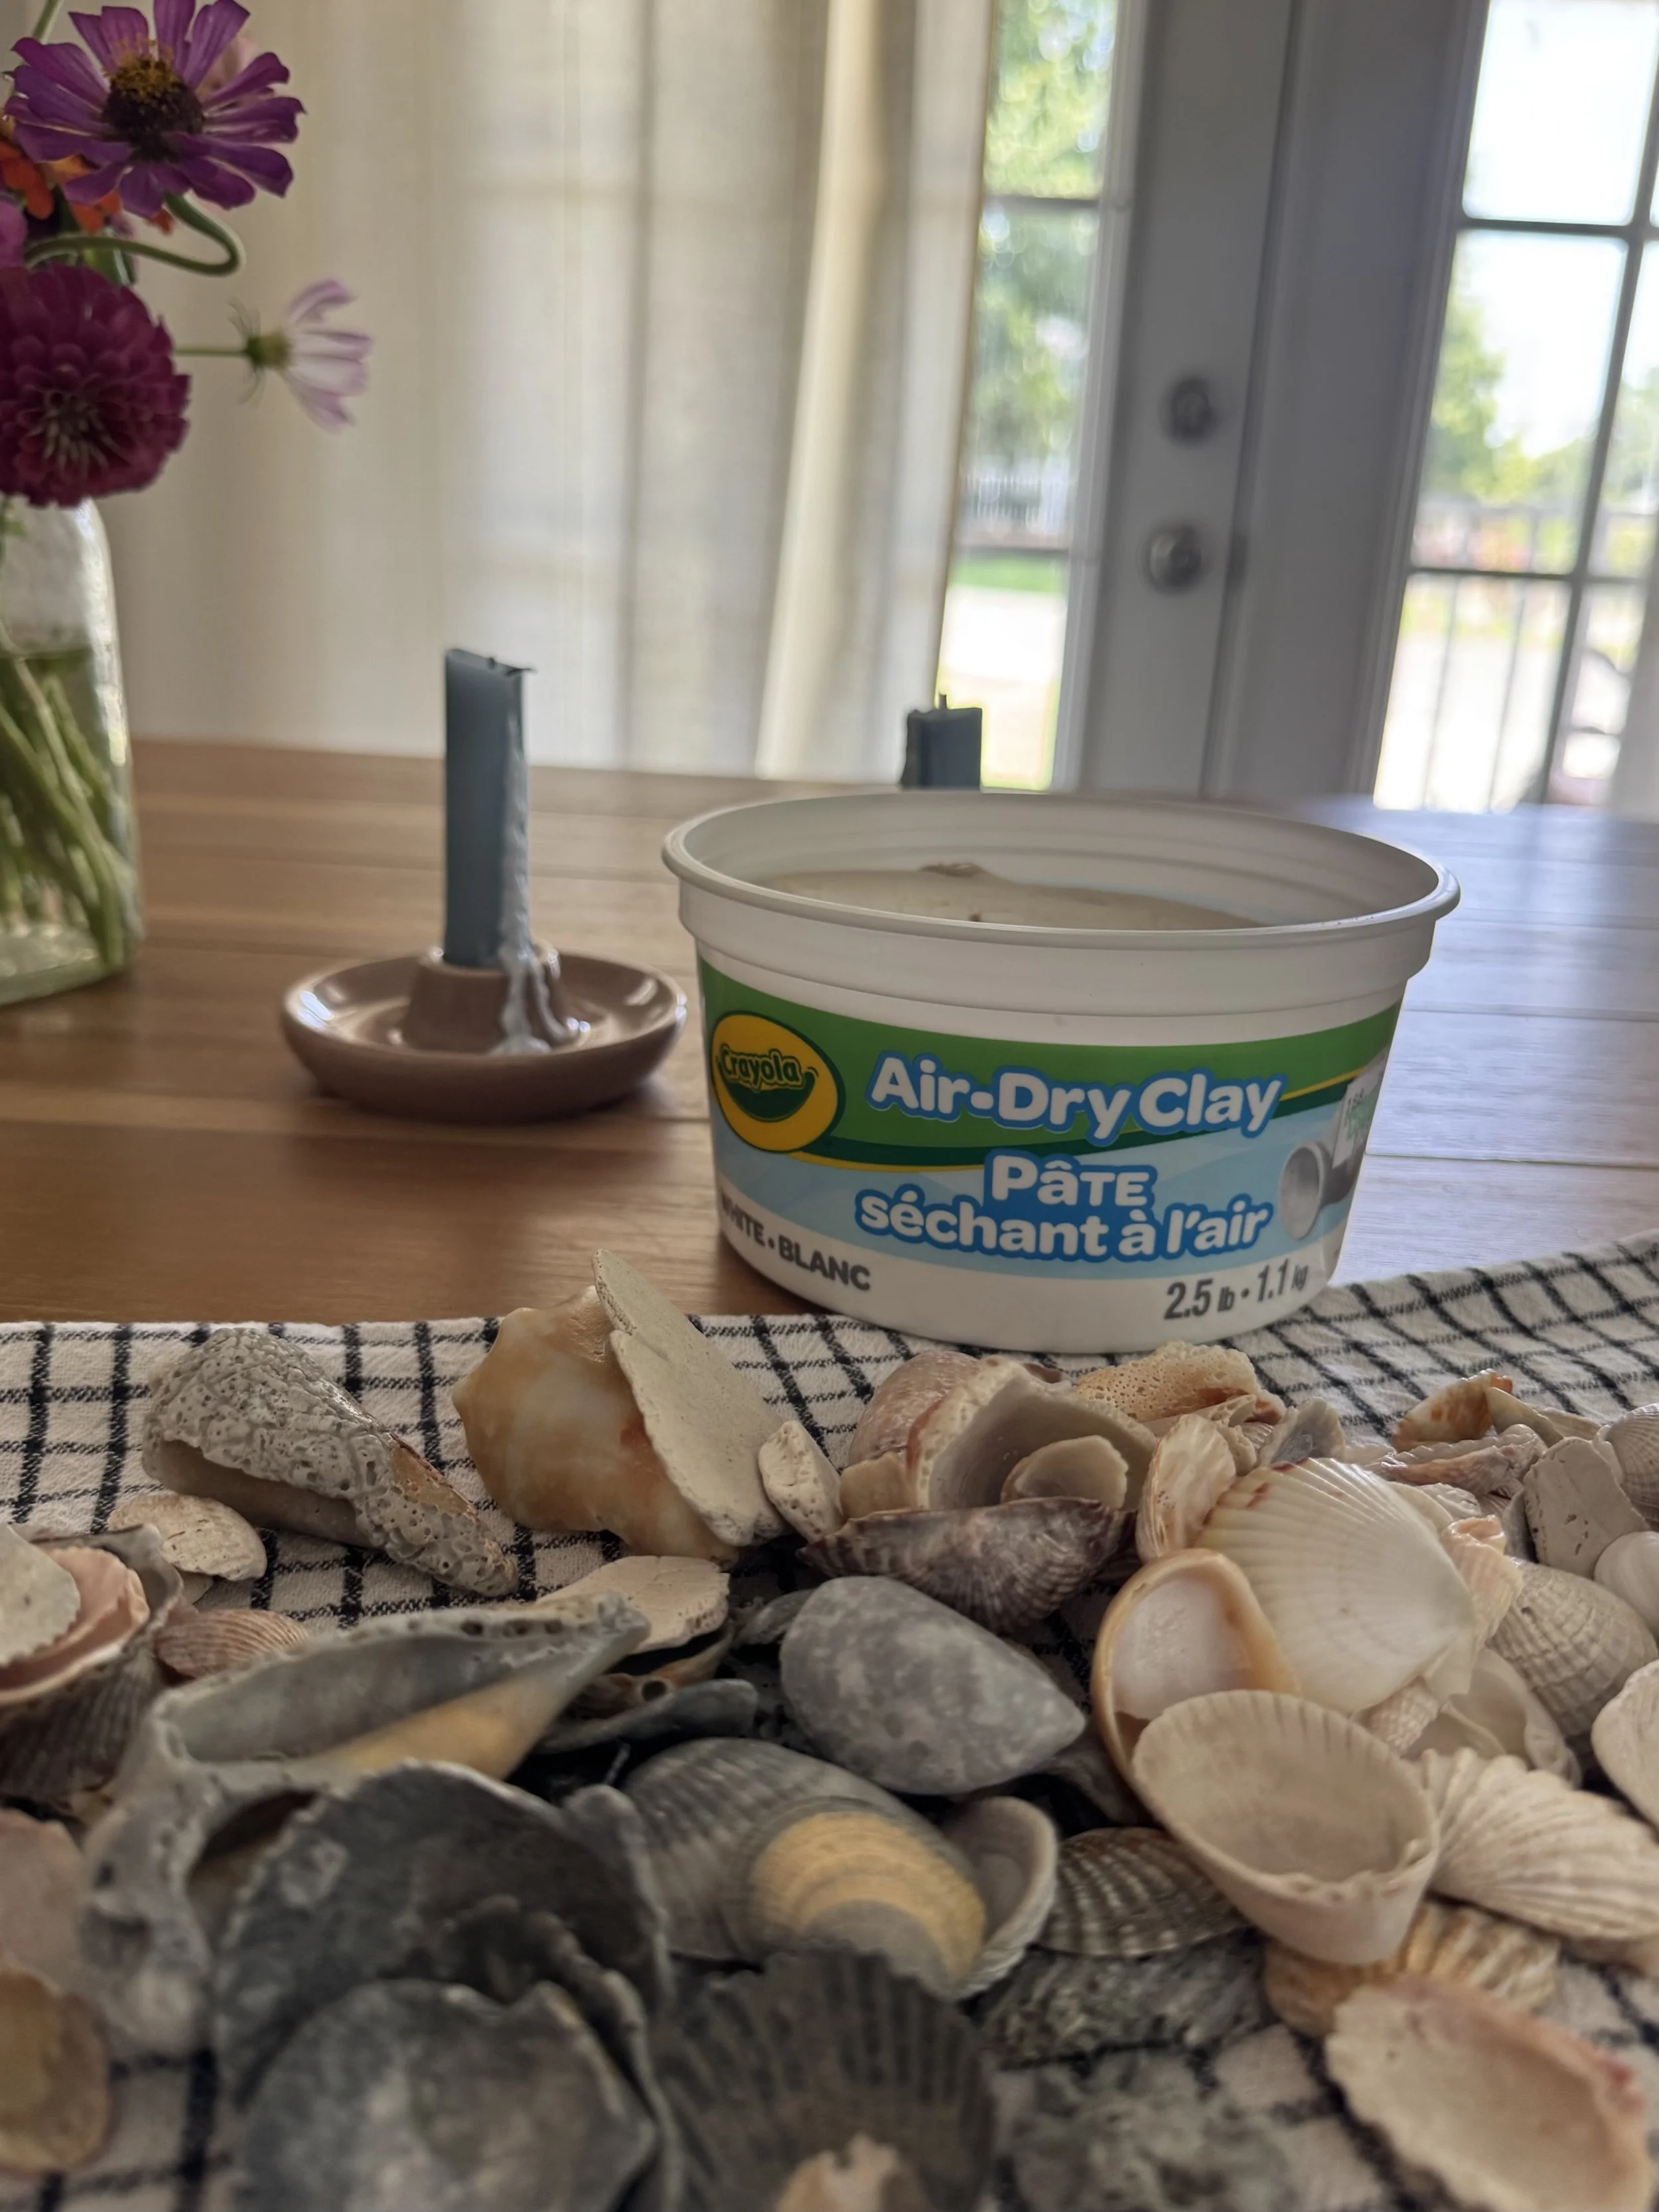
-Air dry clay
-Round Magnets
-Framed Canvas (I reused ones we already had that had previously been artwork and just painted over the art to create a white backdrop) Personally, I don’t LOVE the look of shadowboxes once they are hung up, just because of how far they stick out, and I think doing this framed canvas ended up working really nicely!
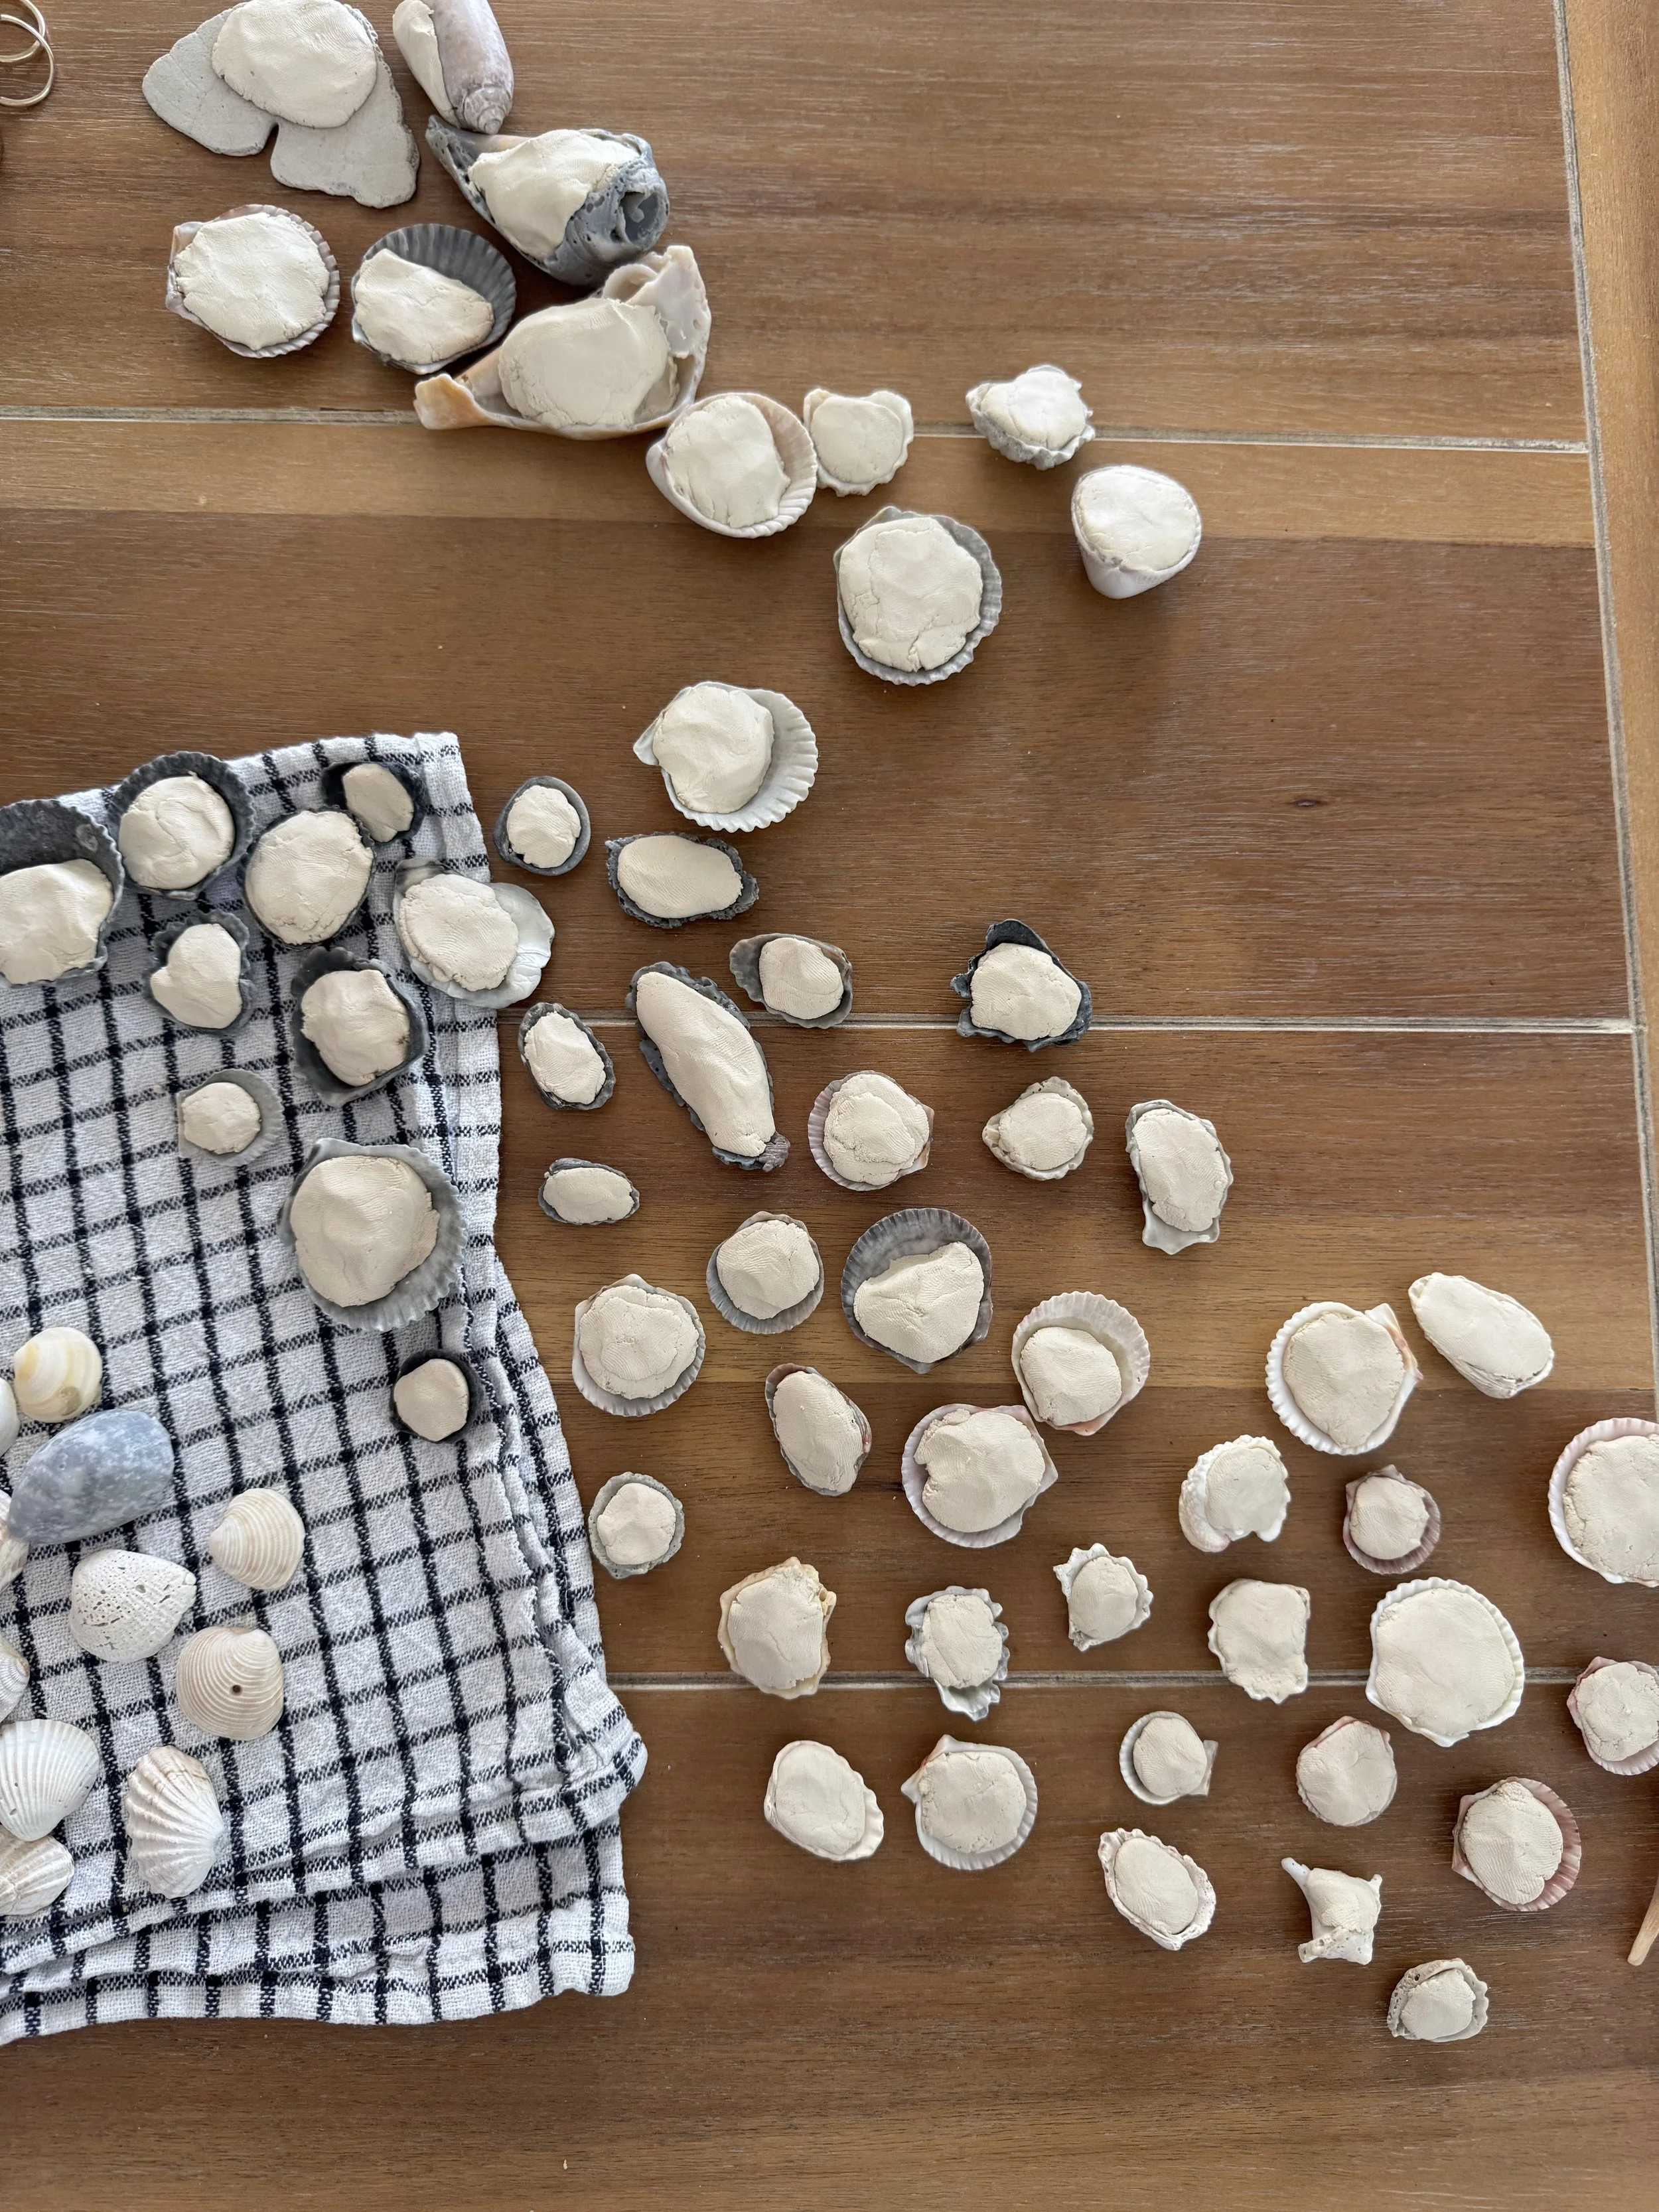
To prep the shells for the magnets and artwork, I got some Crayola air dry clay and put it inside each of the shells, filling the hollow part. This was so that we could actually glue the shells to things without having to put glue on the outside.
Unfortunately, I thought the clay would stick to the shells, but unfortunately it did not, so once the clay hardened, I had to go through and hot glue the molded clay to the inside of each shell so that it would stick.
Once the clay was glued inside the shells, I separated them into 3 categories… my shells for magnets (bigger ones), my grey/black shells for artwork #1, and my white/red shells for artwork #2.
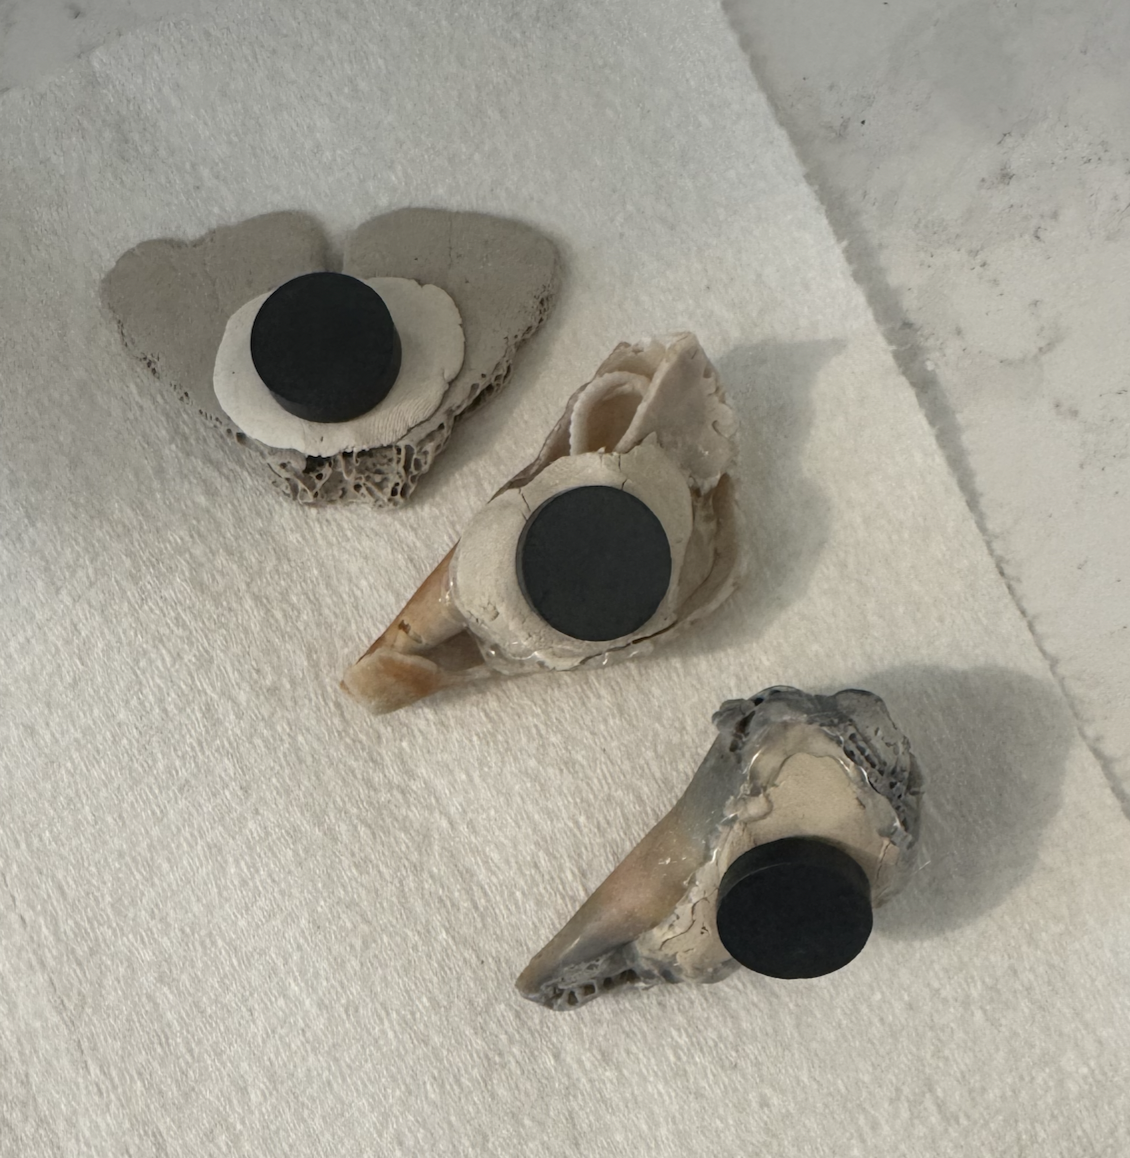
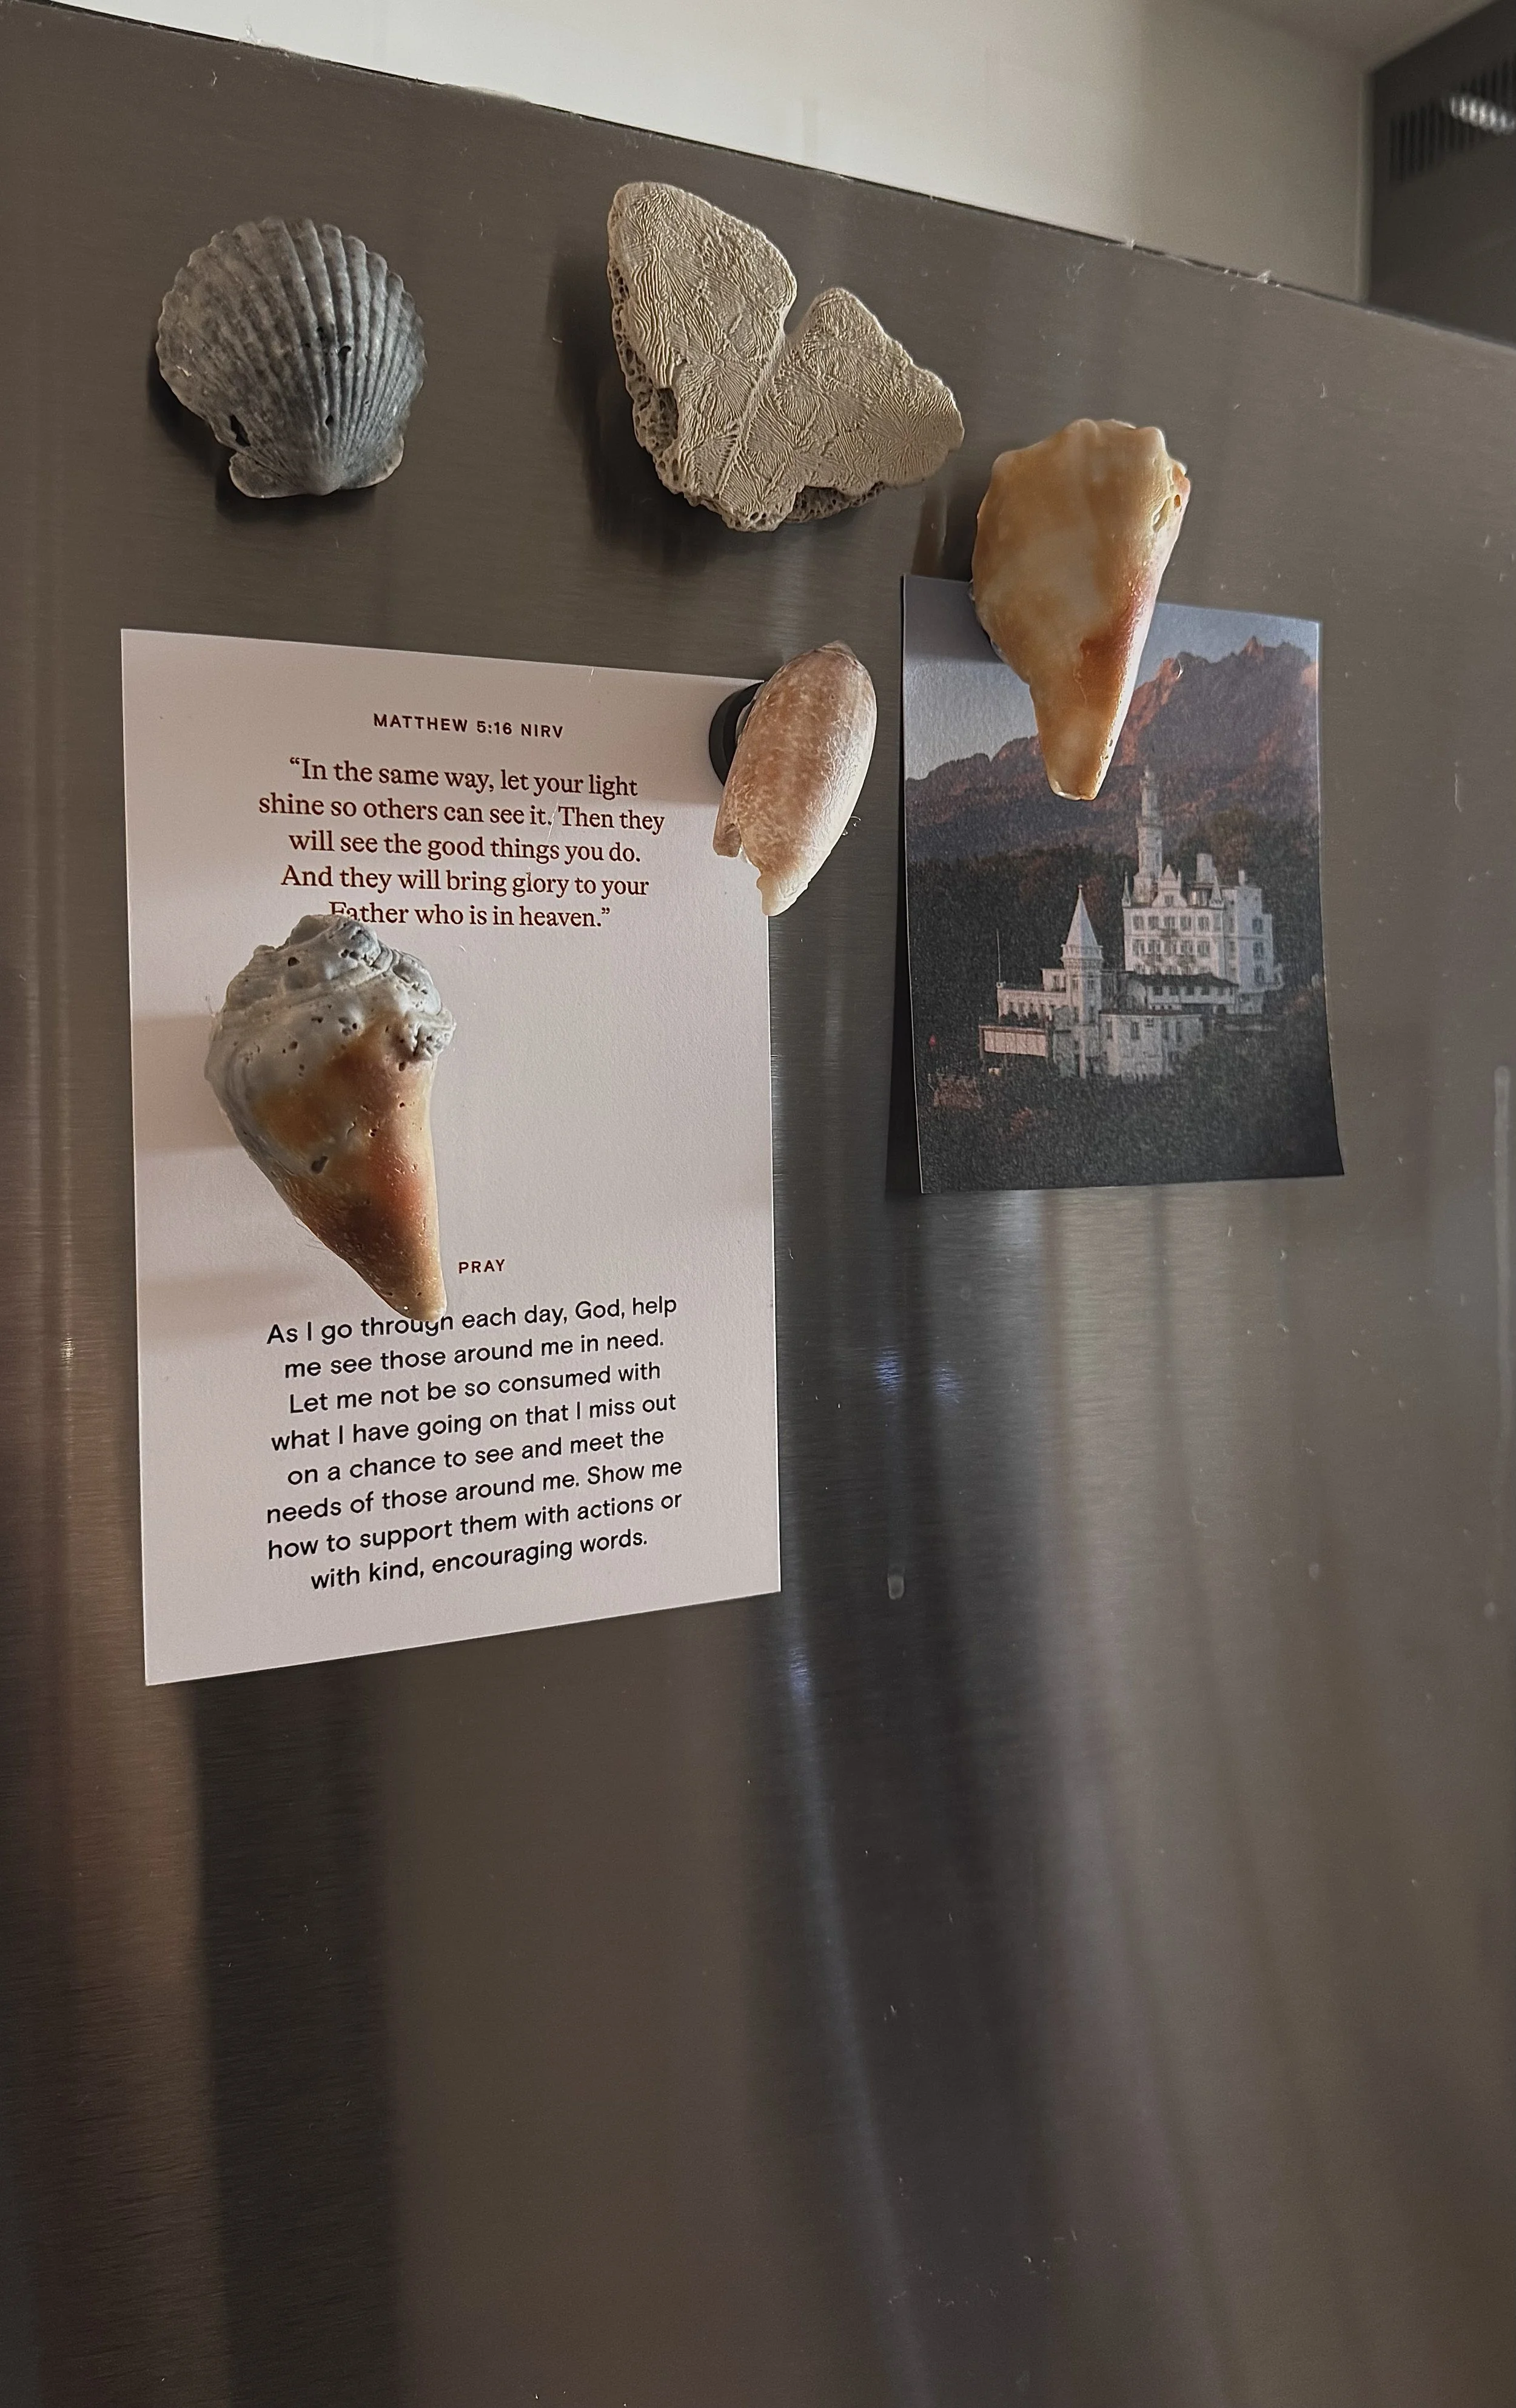
For the magnets, truly, all I did was hot glue a circular magnet to the back of the clay. This was super simple and I really loved how they turned out!
For the artwork, I just arranged the shells on each canvas in a way that felt good. I envision these hanging next to one another, so I wanted them to be similar enough to look like a pair, but have different color schemes. In hindsight, I probably should have measured the borders/spacing a little more precisely, but I think eyeballing them actually turned out okay! Once I got both canvases arranged in a way that I liked, I glued each shell down, starting with the borders + bigger shells to create an anchor, and then doing the smaller, middle shells last.
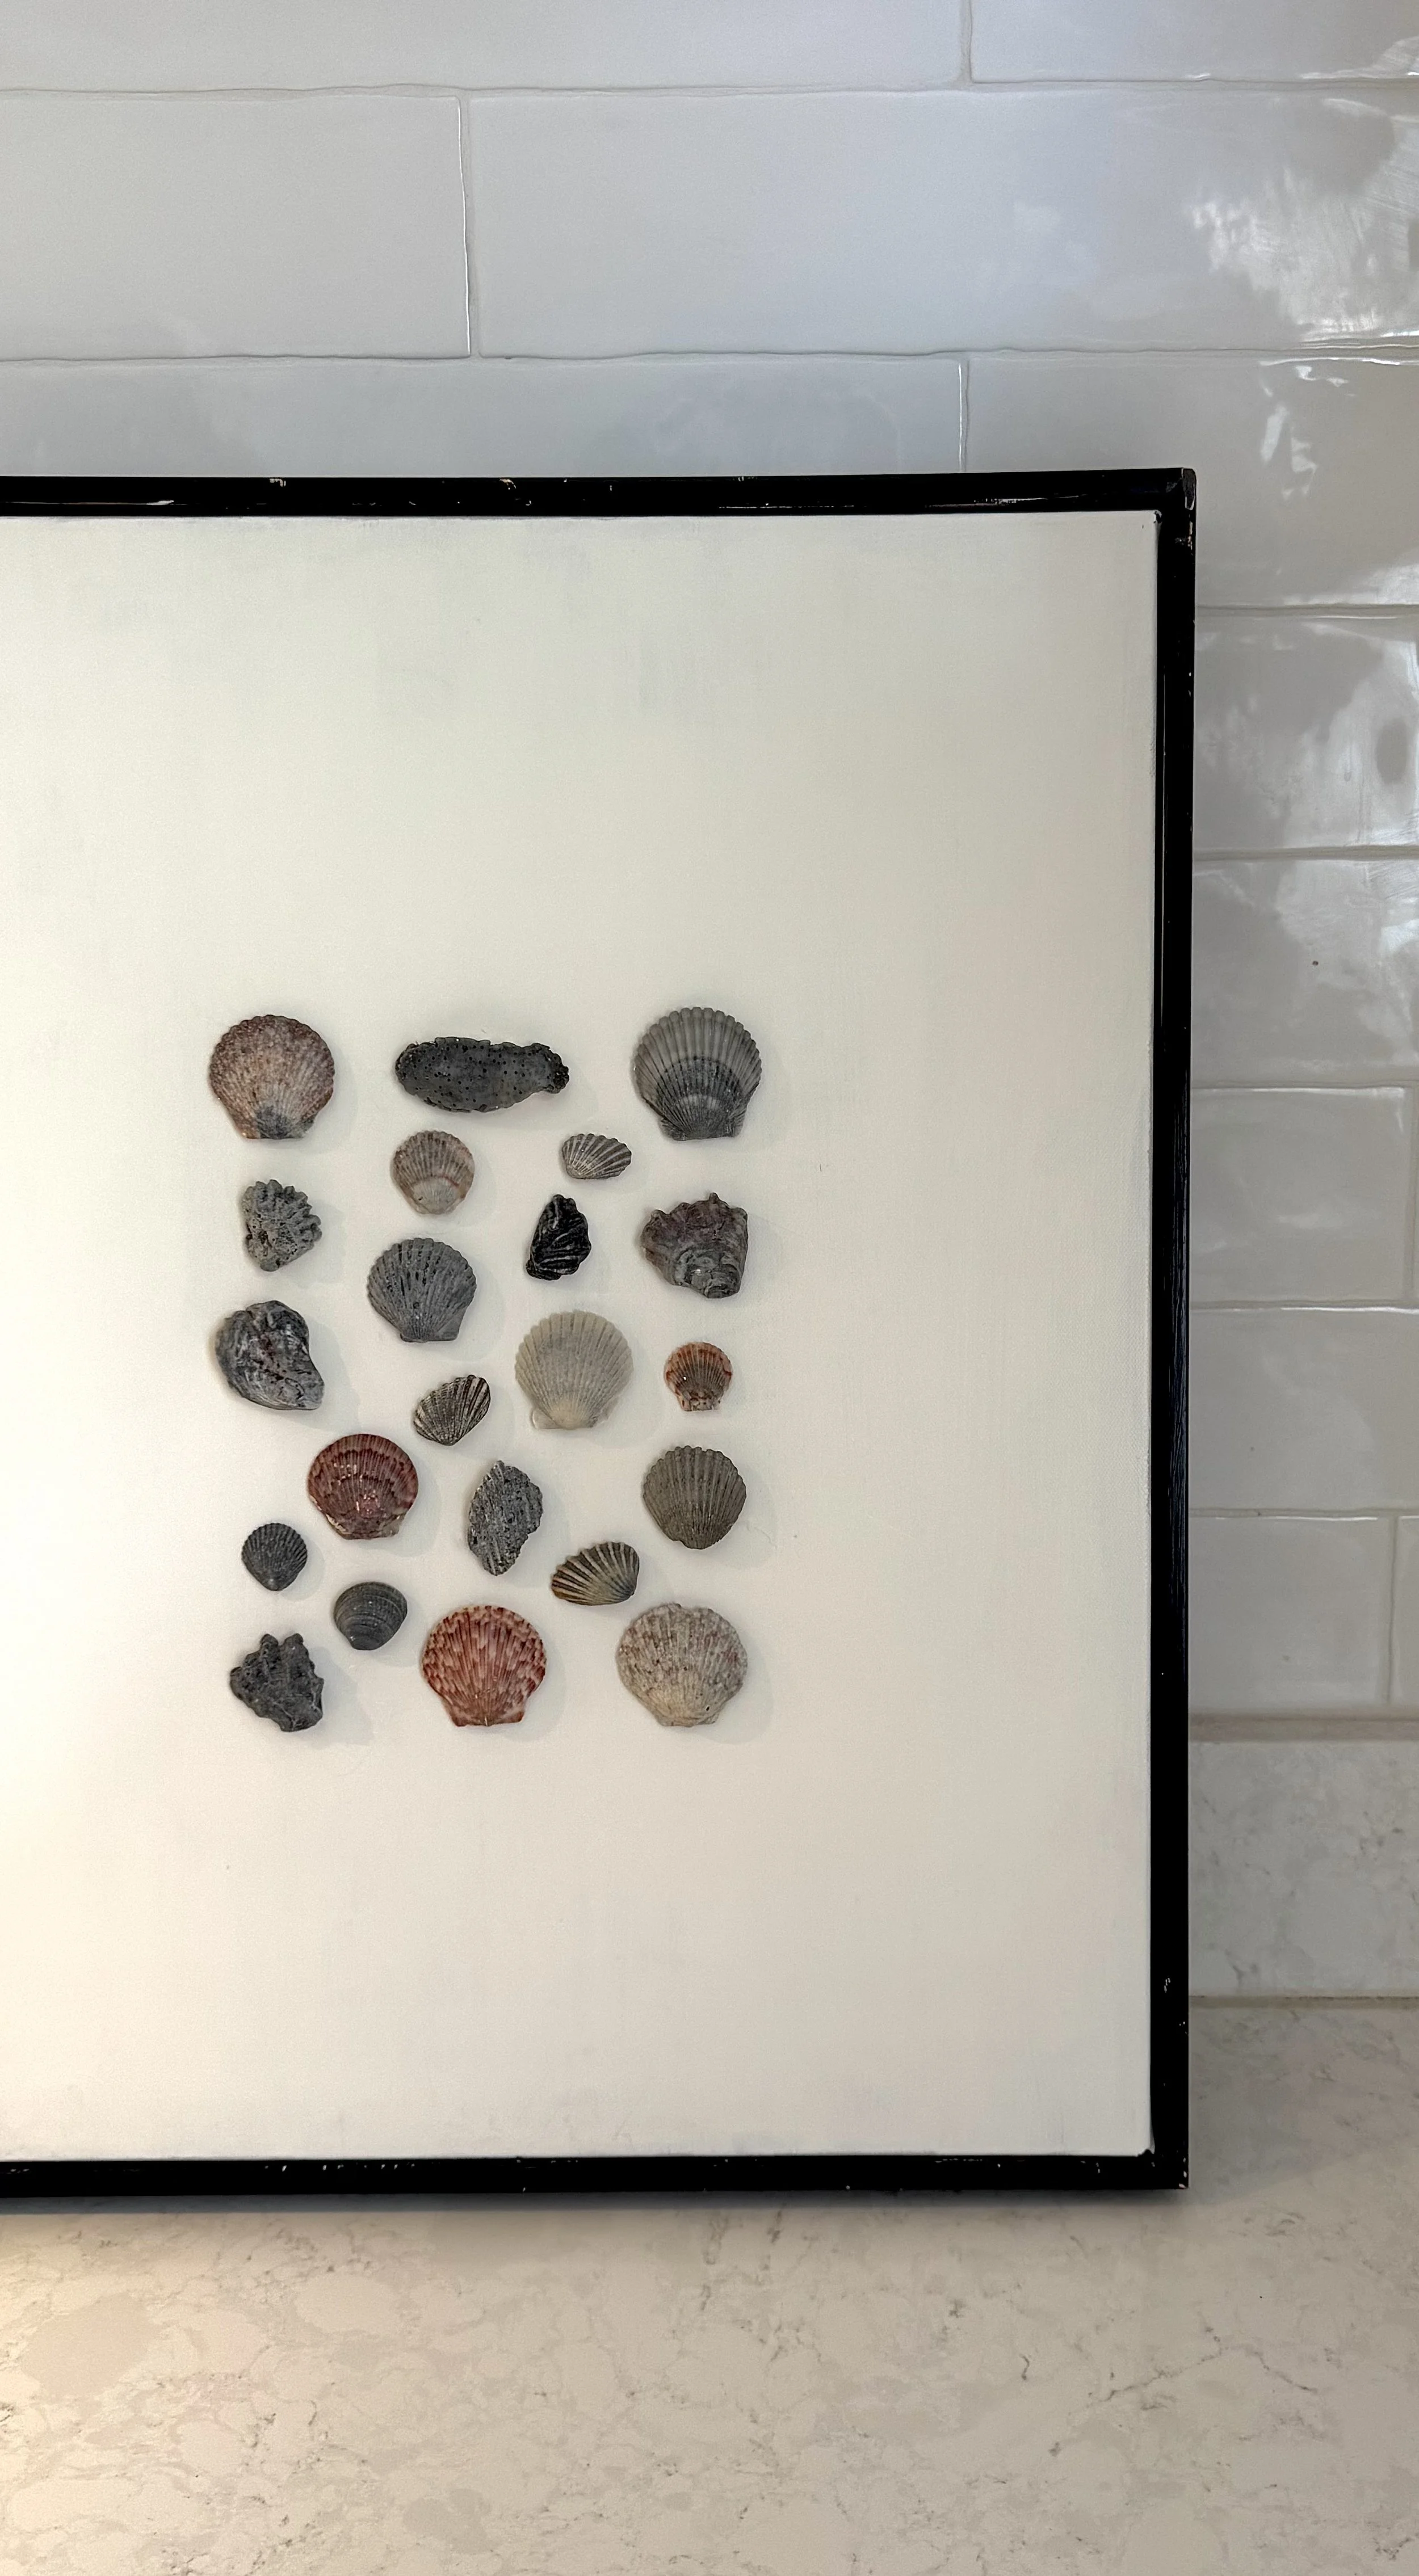
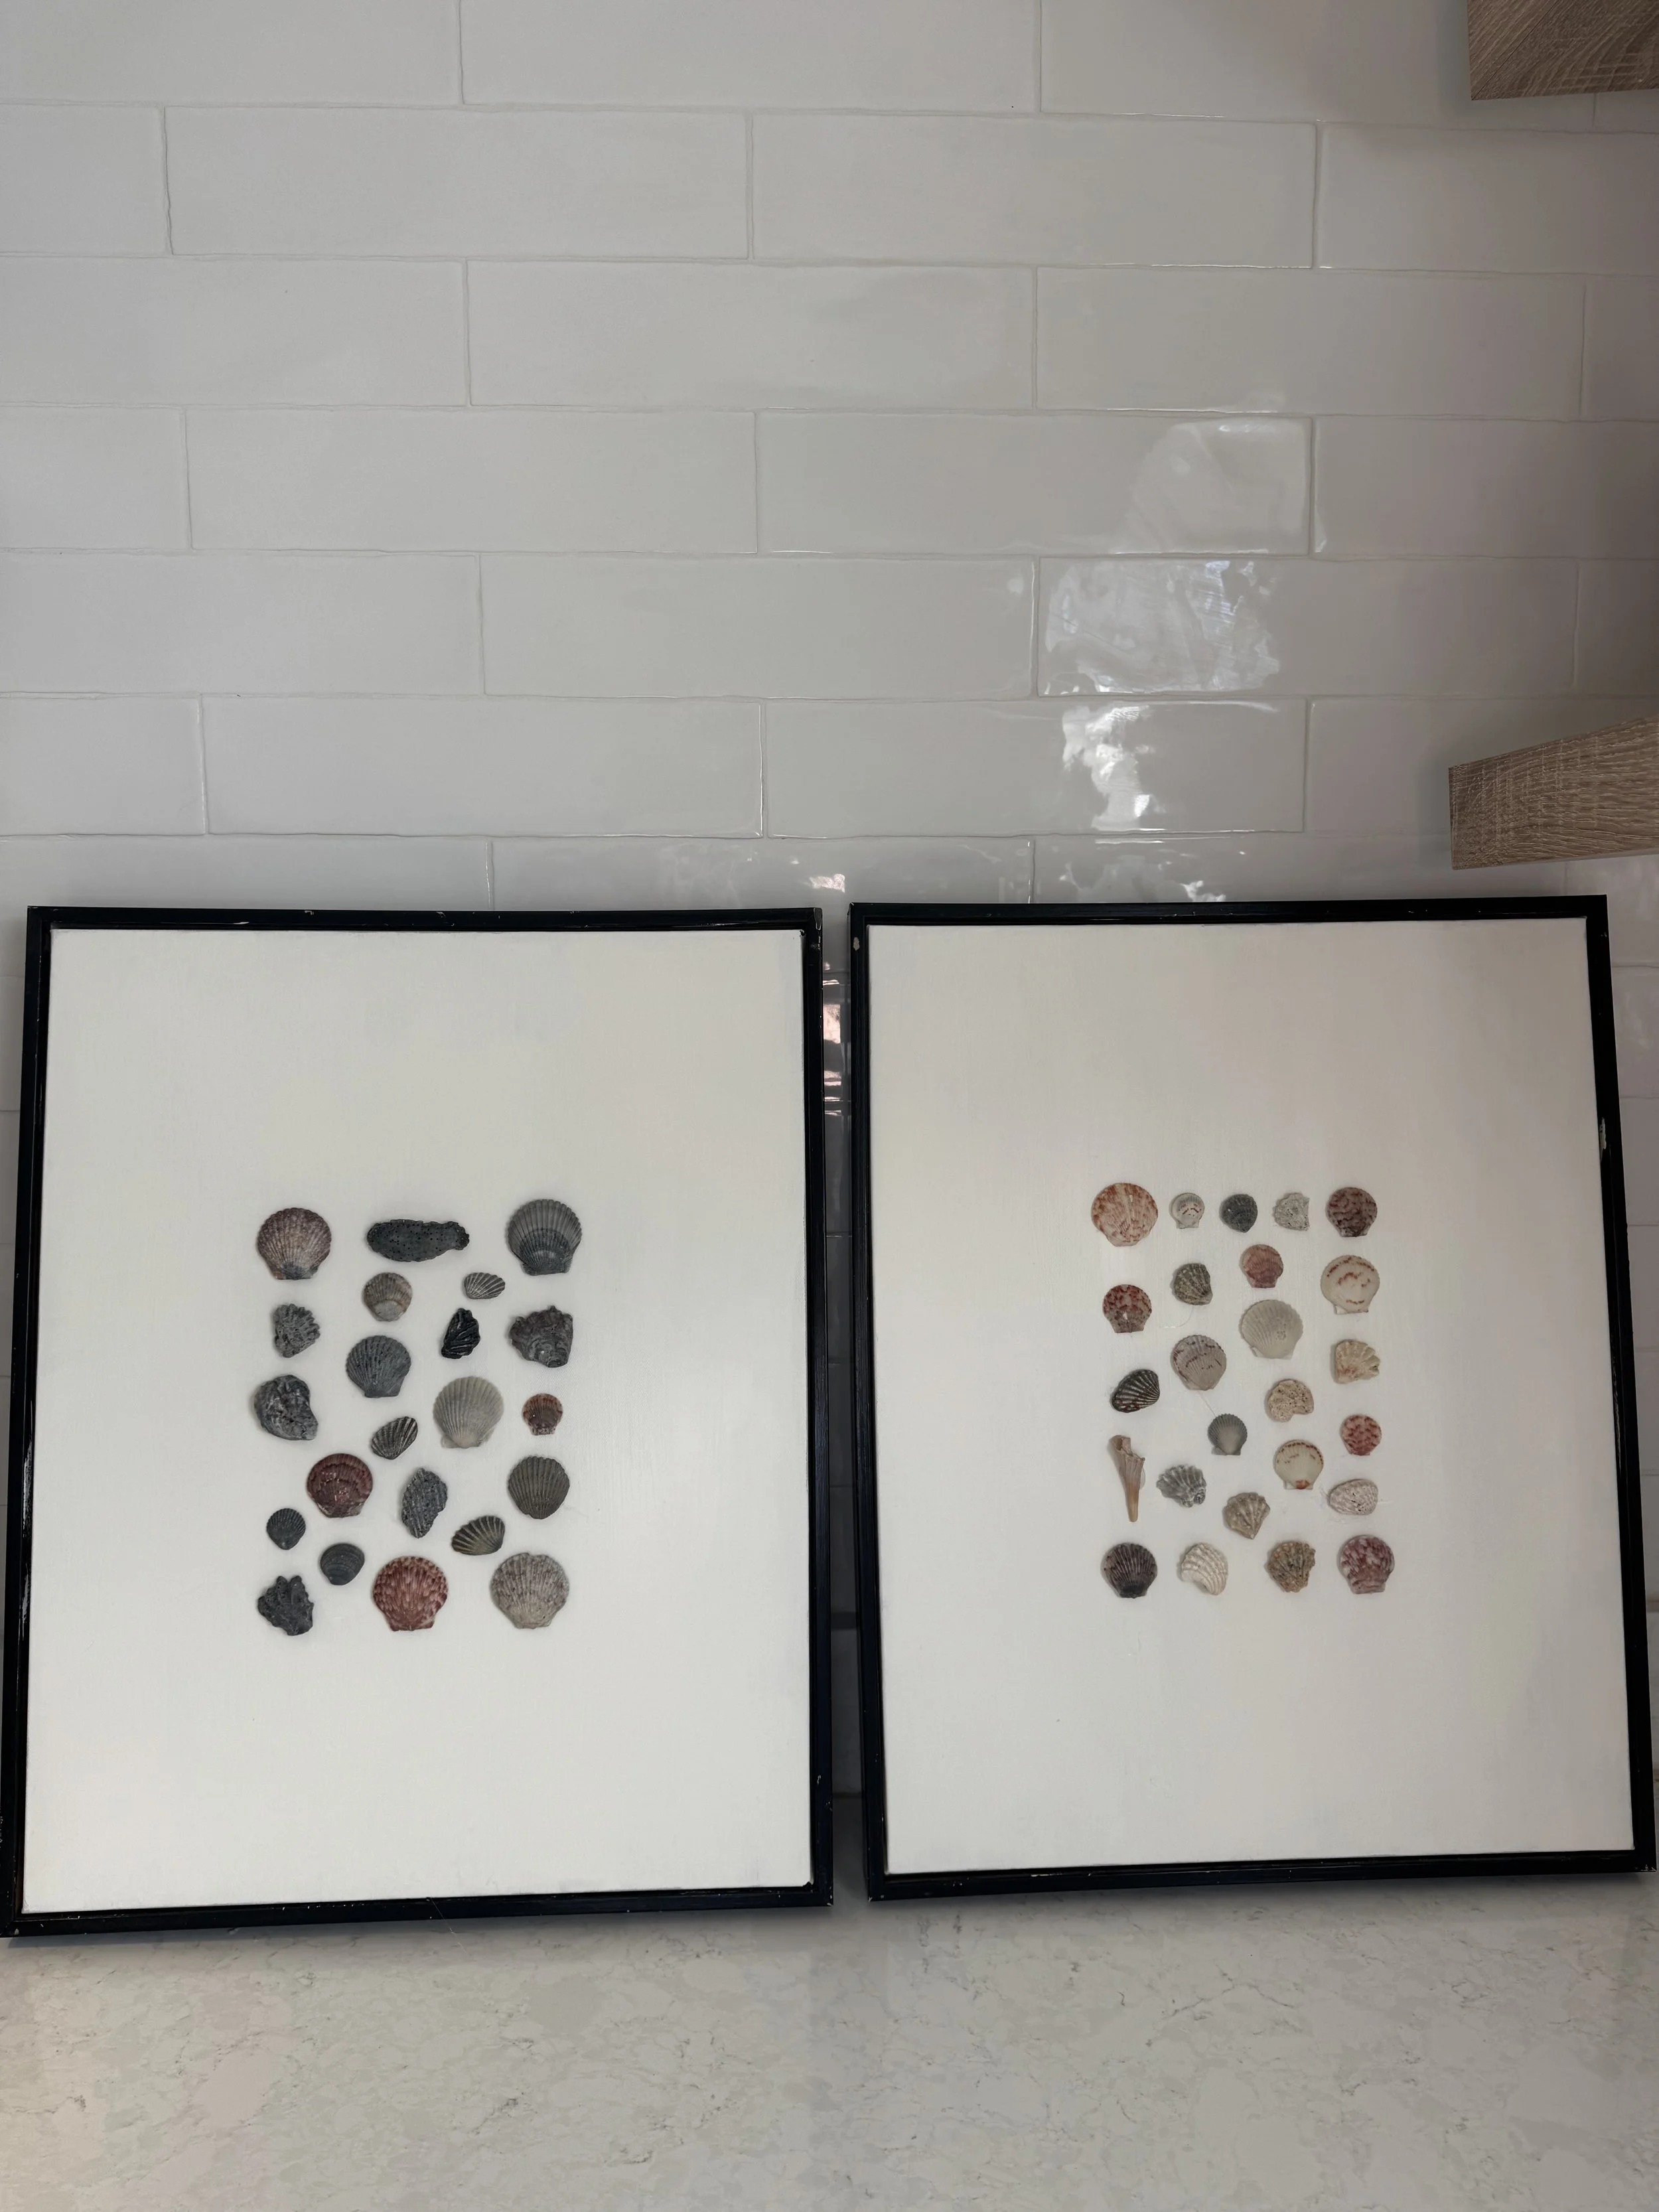
I love how both of these turned out! I think they’re neutral enough that I can put them in my house without feeling like I’m decorating a beach house, and think they’ll go okay with the other art and decor in our home. Such a fun, affordable craft that will always remind us of our sweet family trip to Rosemary Beach!