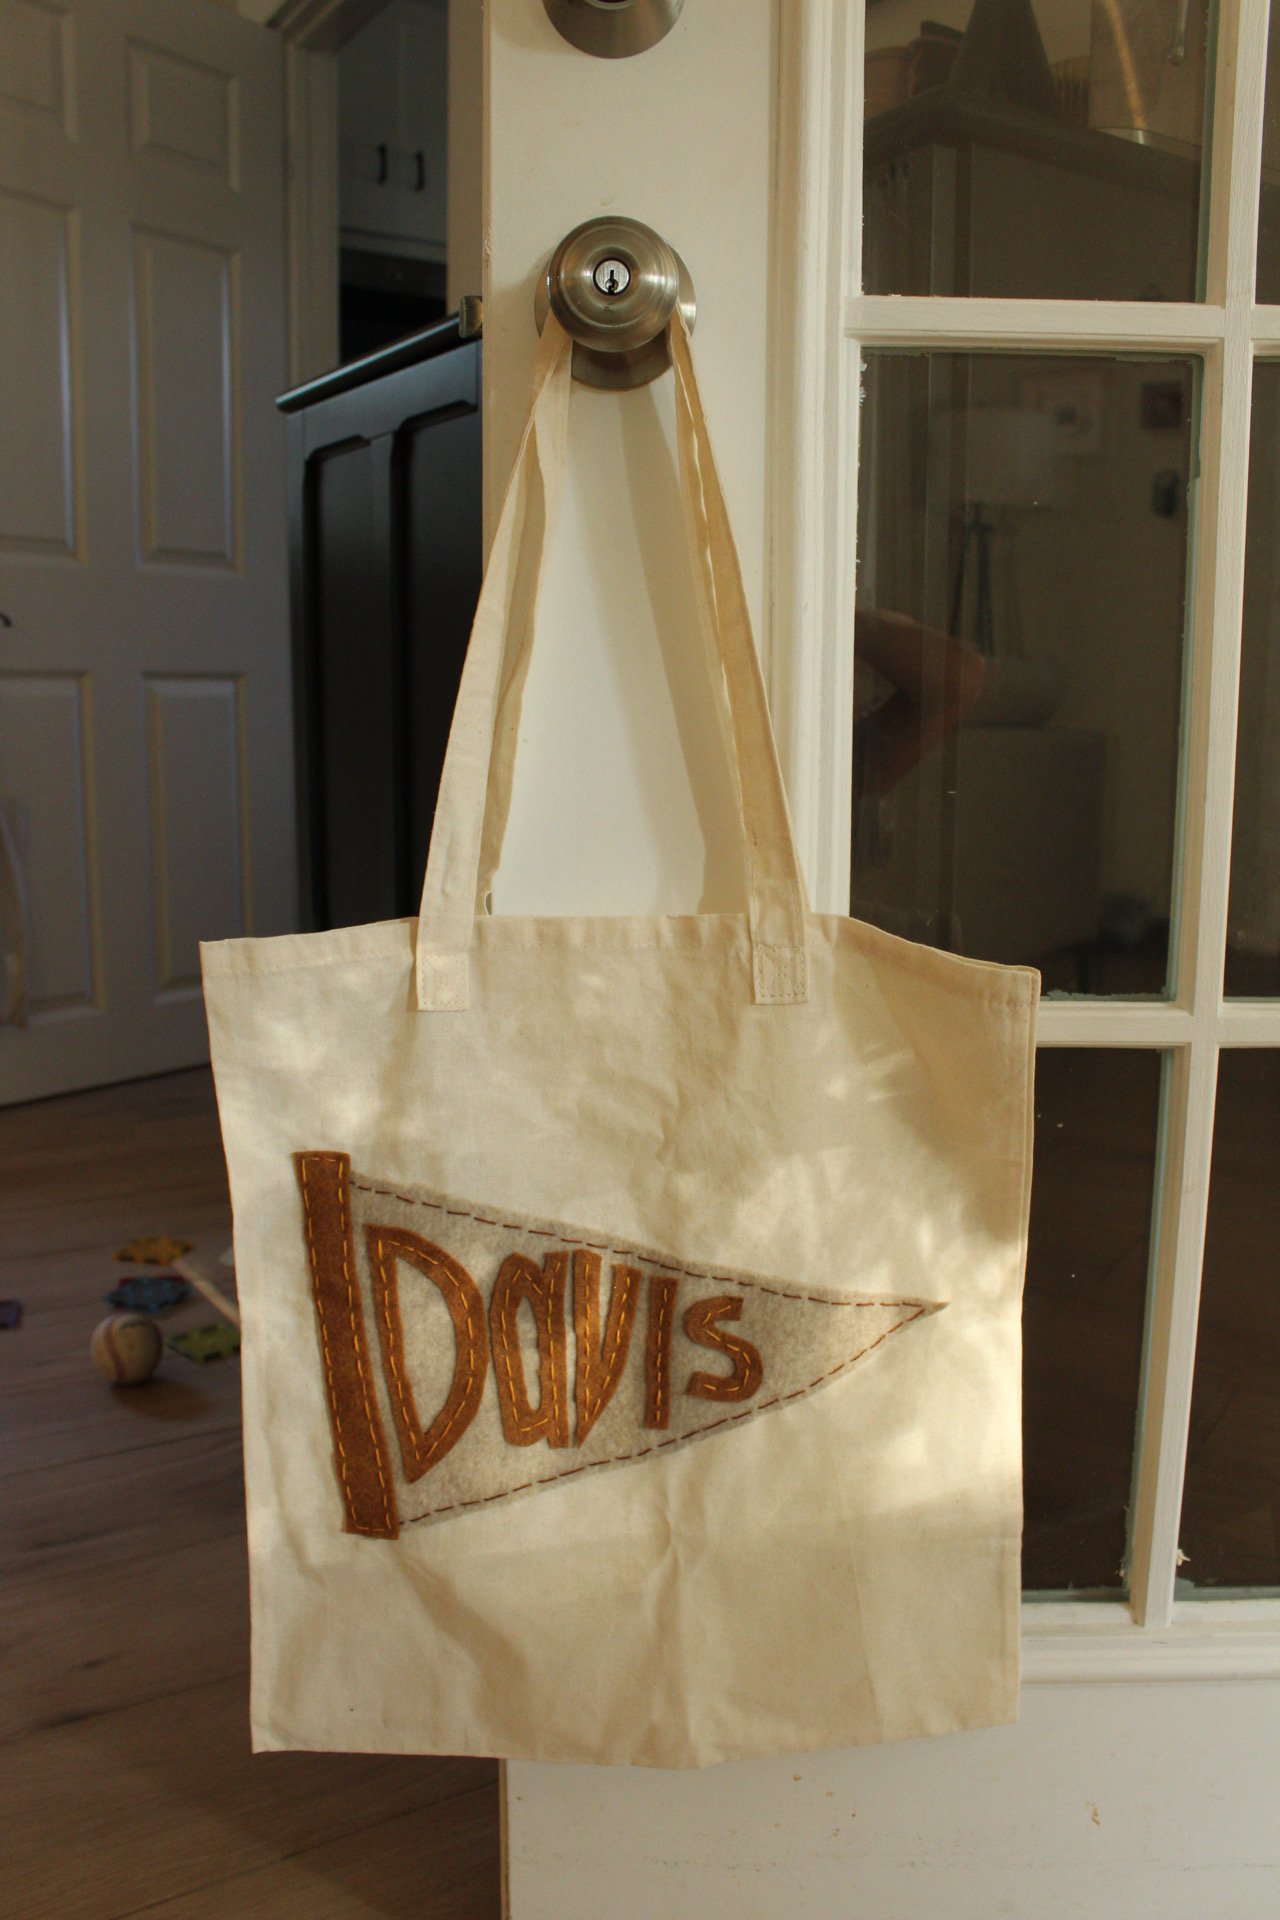
DIY Pendant Tote Bag
Easy DIY embroidered pendant tote bag!
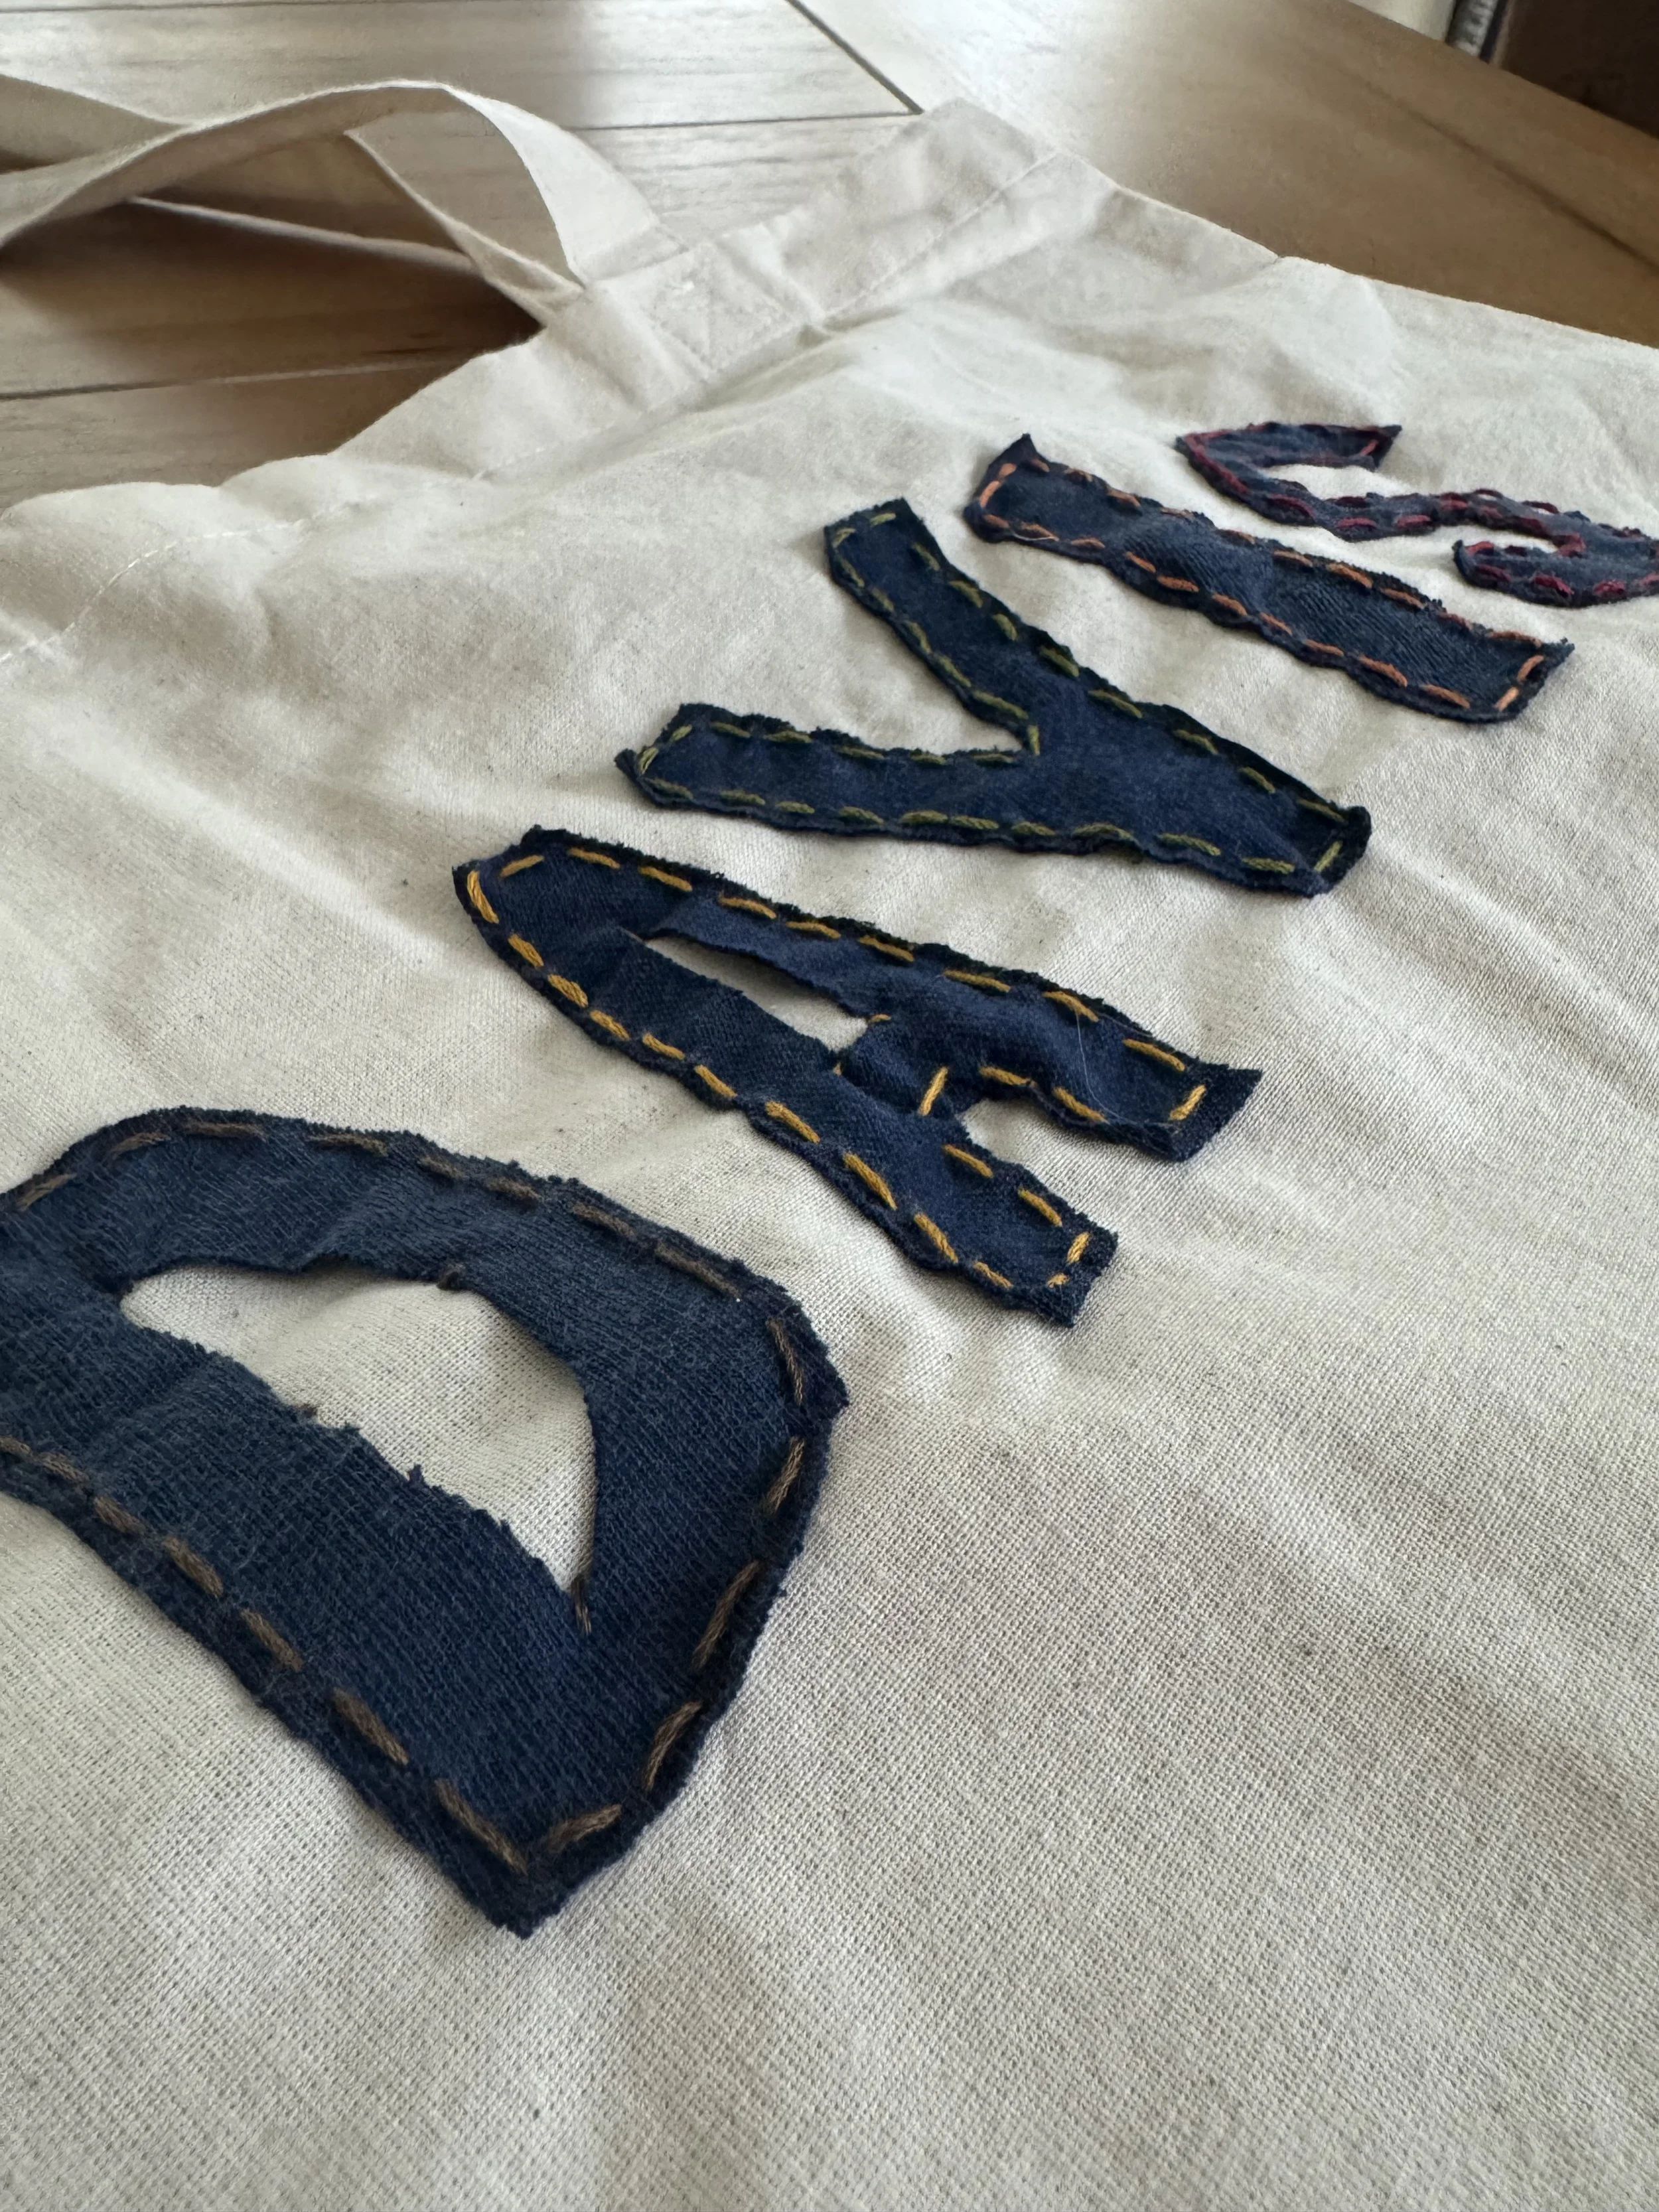
This is a fun one! Last year, I decided on a whim to make my son a little tote bag for daycare using a leftover bag I had from one of the girls nights I hosted. I didn’t put much thought into it, and actually ended up using the bag the whole year!
For reference, here is last year’s bag:

So, this year, I decided to do a little more planning, and to come up with something even better! After scouring Pinterest, I decided on a felt pendant embroidered onto the tote bag. It felt doable, but a little more put together than what we can up with last year. Let’s dive in!
Supplies:
-Canvas Tote Bags! I bought these and got a 12-pack of the large size.
-Felt Sheets (I used two total, one of each color)
-Embroidery Thread
-Needle
-Scissors
How to:
I will be honest, I totally eye-balled this project! I started by cutting out a triangle for the pendant piece using color #1. Then, I used a pen to hand draw the outlines for the letters of my son’s name, making each letter a little smaller. Again, I eye-balled this part, though it may have looked a little cleaner if I had done some measuring.
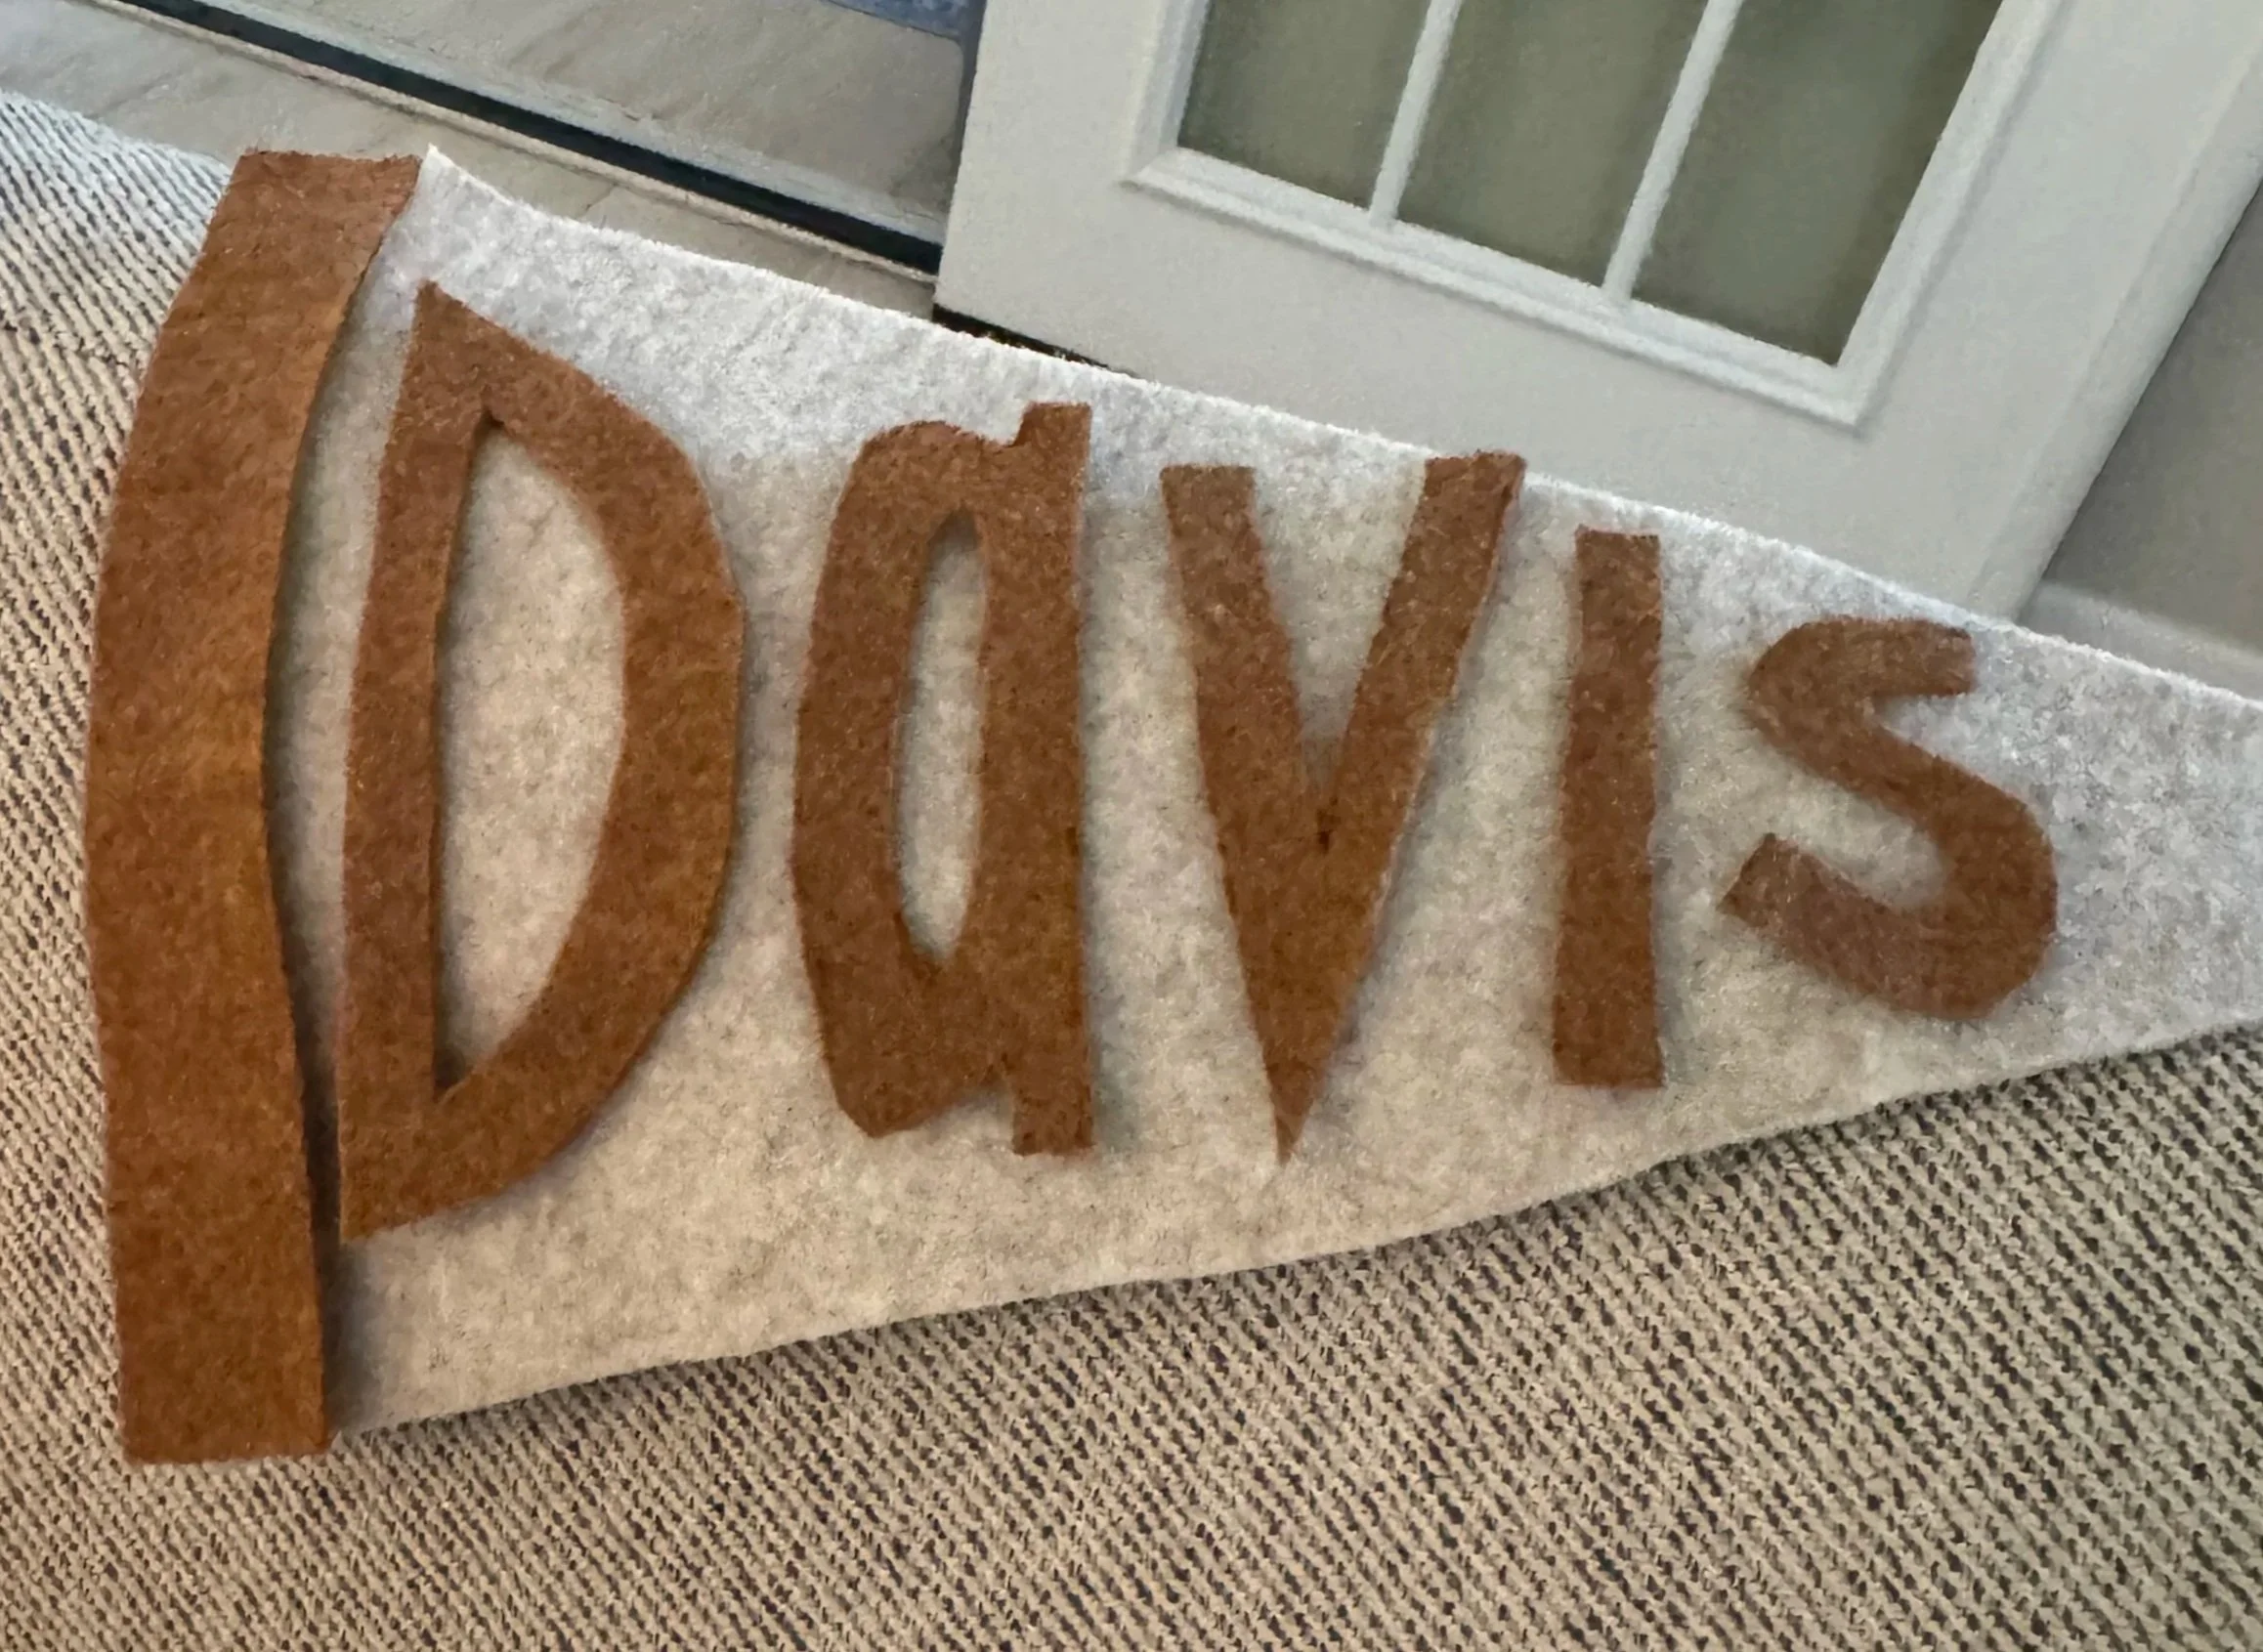
Laying everything out to make sure it fit!
Once I got the letters cut out and laid them on the triangle to make sure they’d all fit okay, I stitched the triangle part onto the bag, followed by the border piece and then each letter. For stitch type, I used a running stitch (super simple).
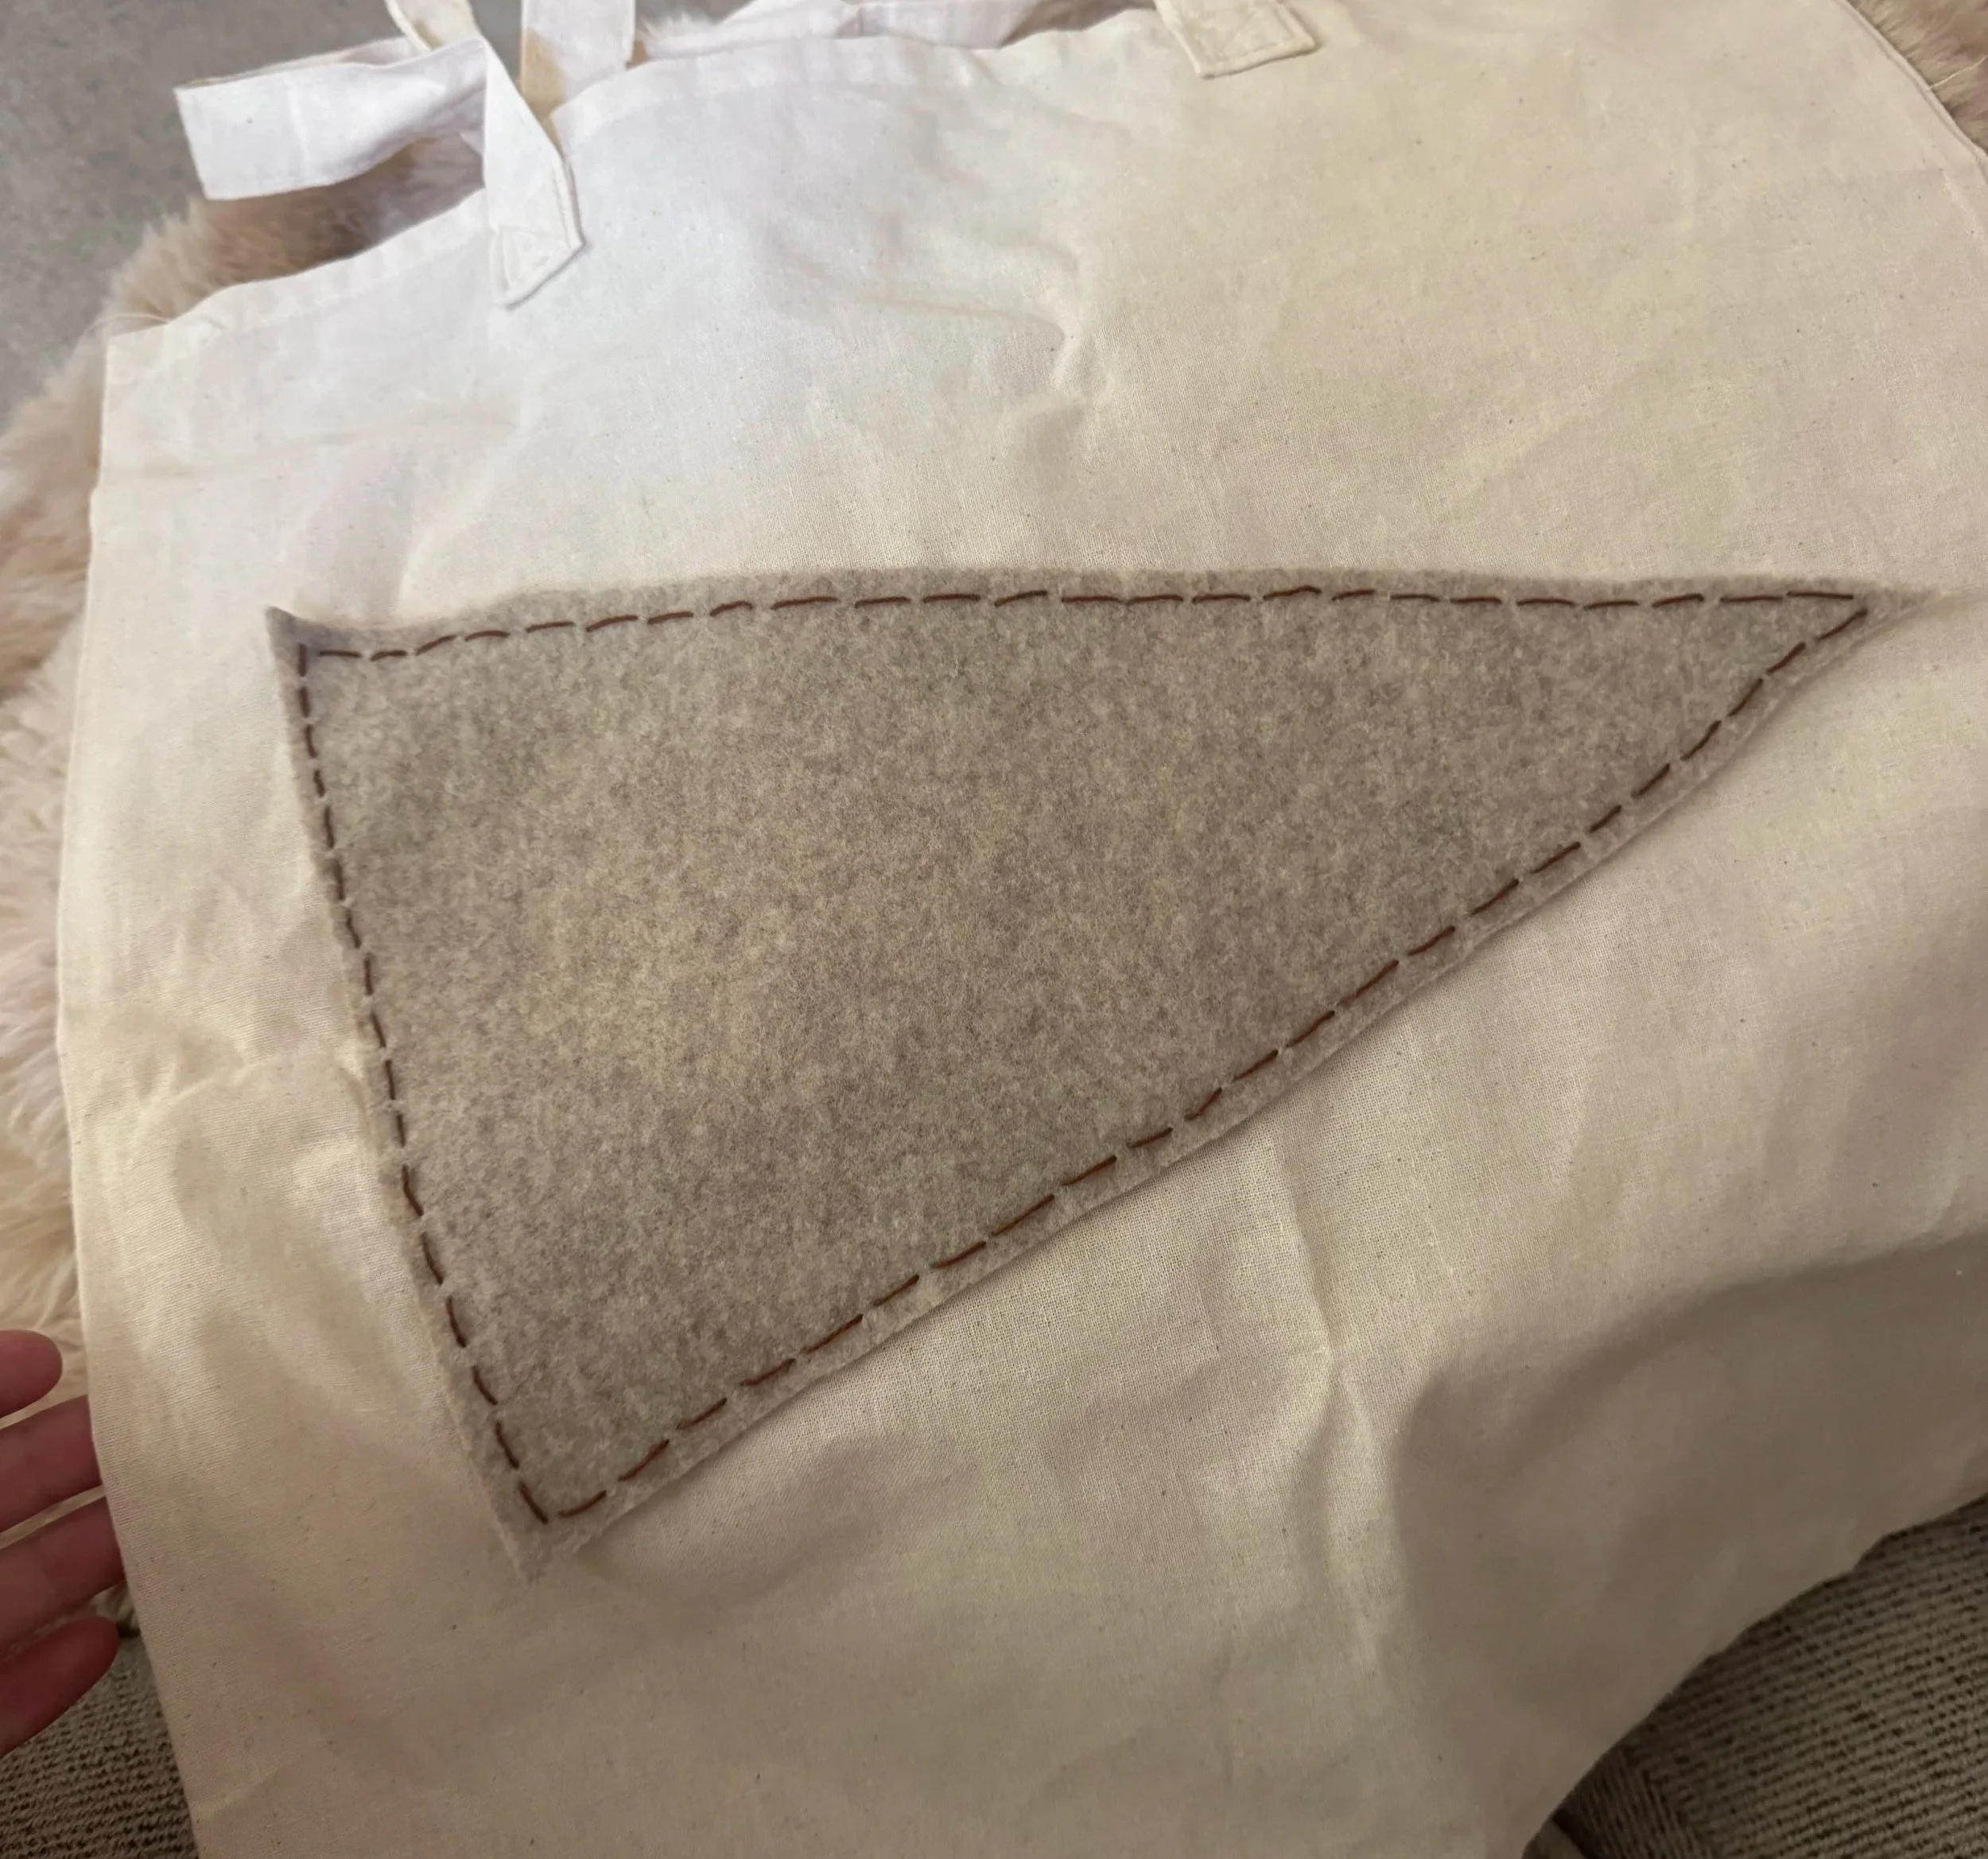
And truly, that’s it! All in all, it probably took about 2-3 hours for me to do this project and I love how it turned out! Our son was so excited to have his name on the bag, and I love getting to create things like this for him that we can keep, even after the school year ends. Here’s how the final product turned out: