Dried Orange Wreath For Fall!
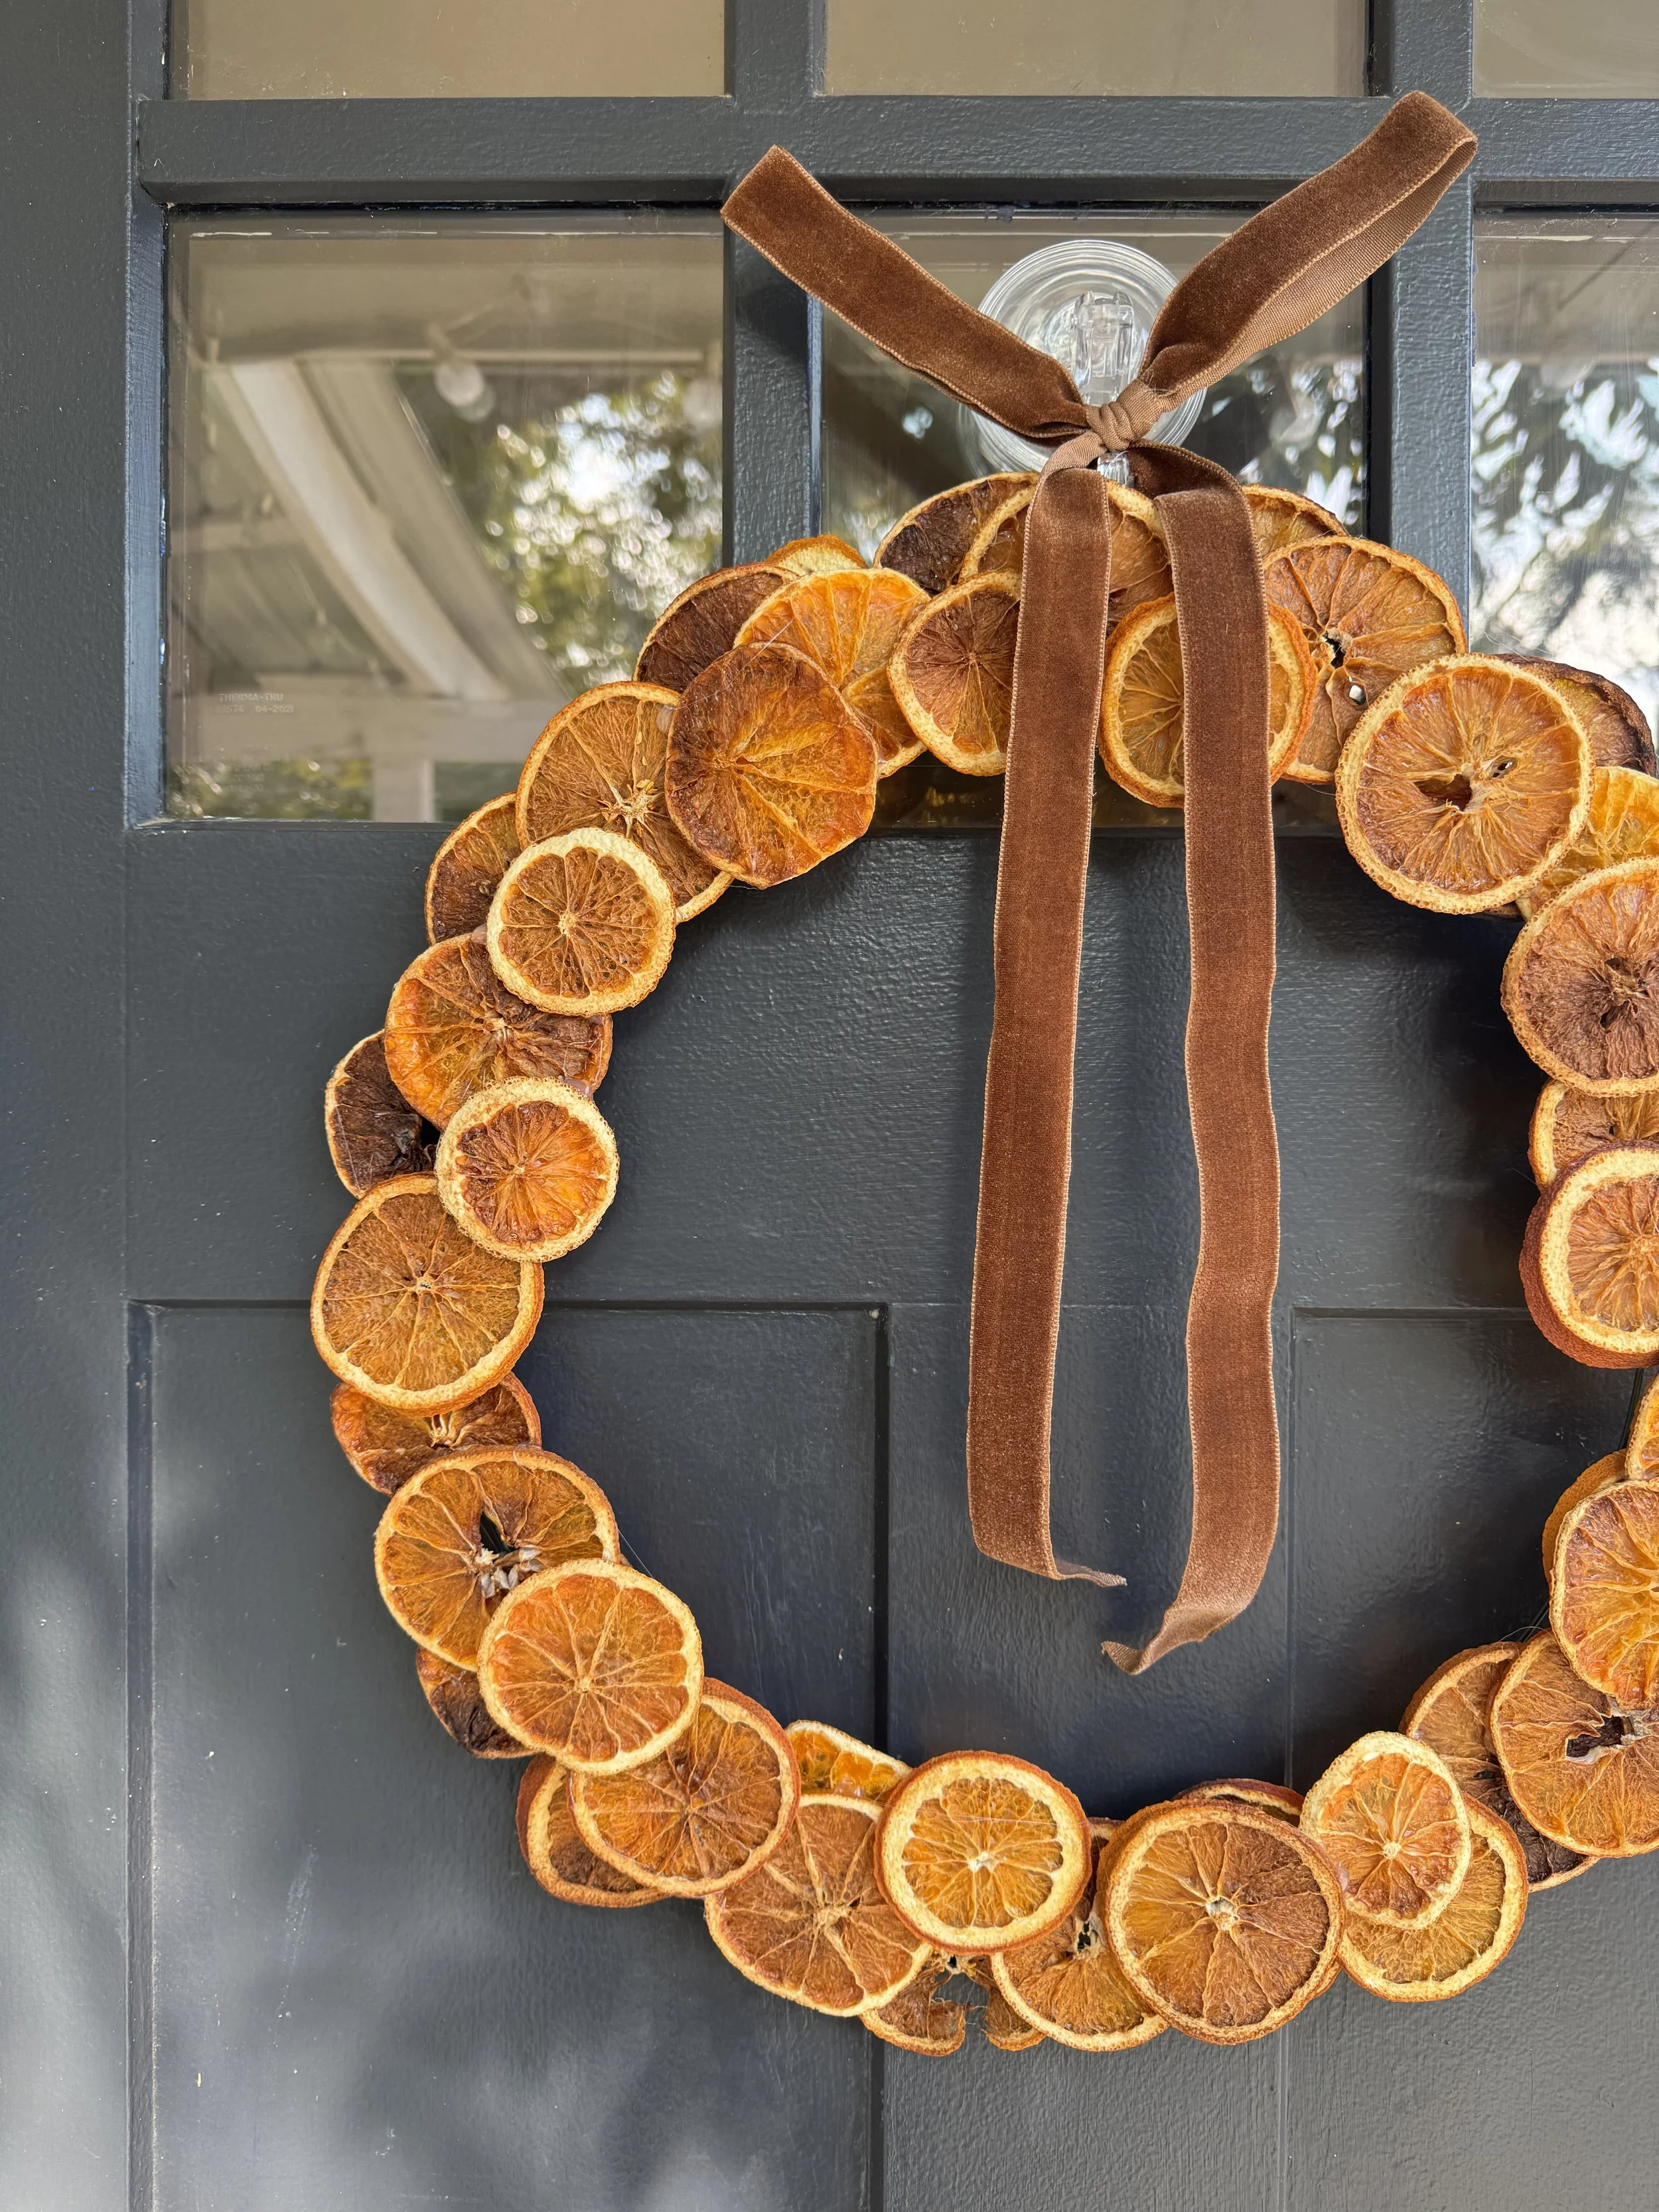
Okay, I think this may be one of my favorite crafts I’ve made so far! It was pretty easy to do, and I absolutely LOVE how it turned out! Its still August and 95 degrees here in Central Texas, but my brain is in fall mode and this was the perfect way to get in the fall spirit. I don’t let myself decorate for fall until after Labor Day (same reason I won’t decorate for Christmas until after Thanksgiving, ha!), but it doesn’t hurt to start getting some stuff ready to get in the fall spirit.
Supplies:
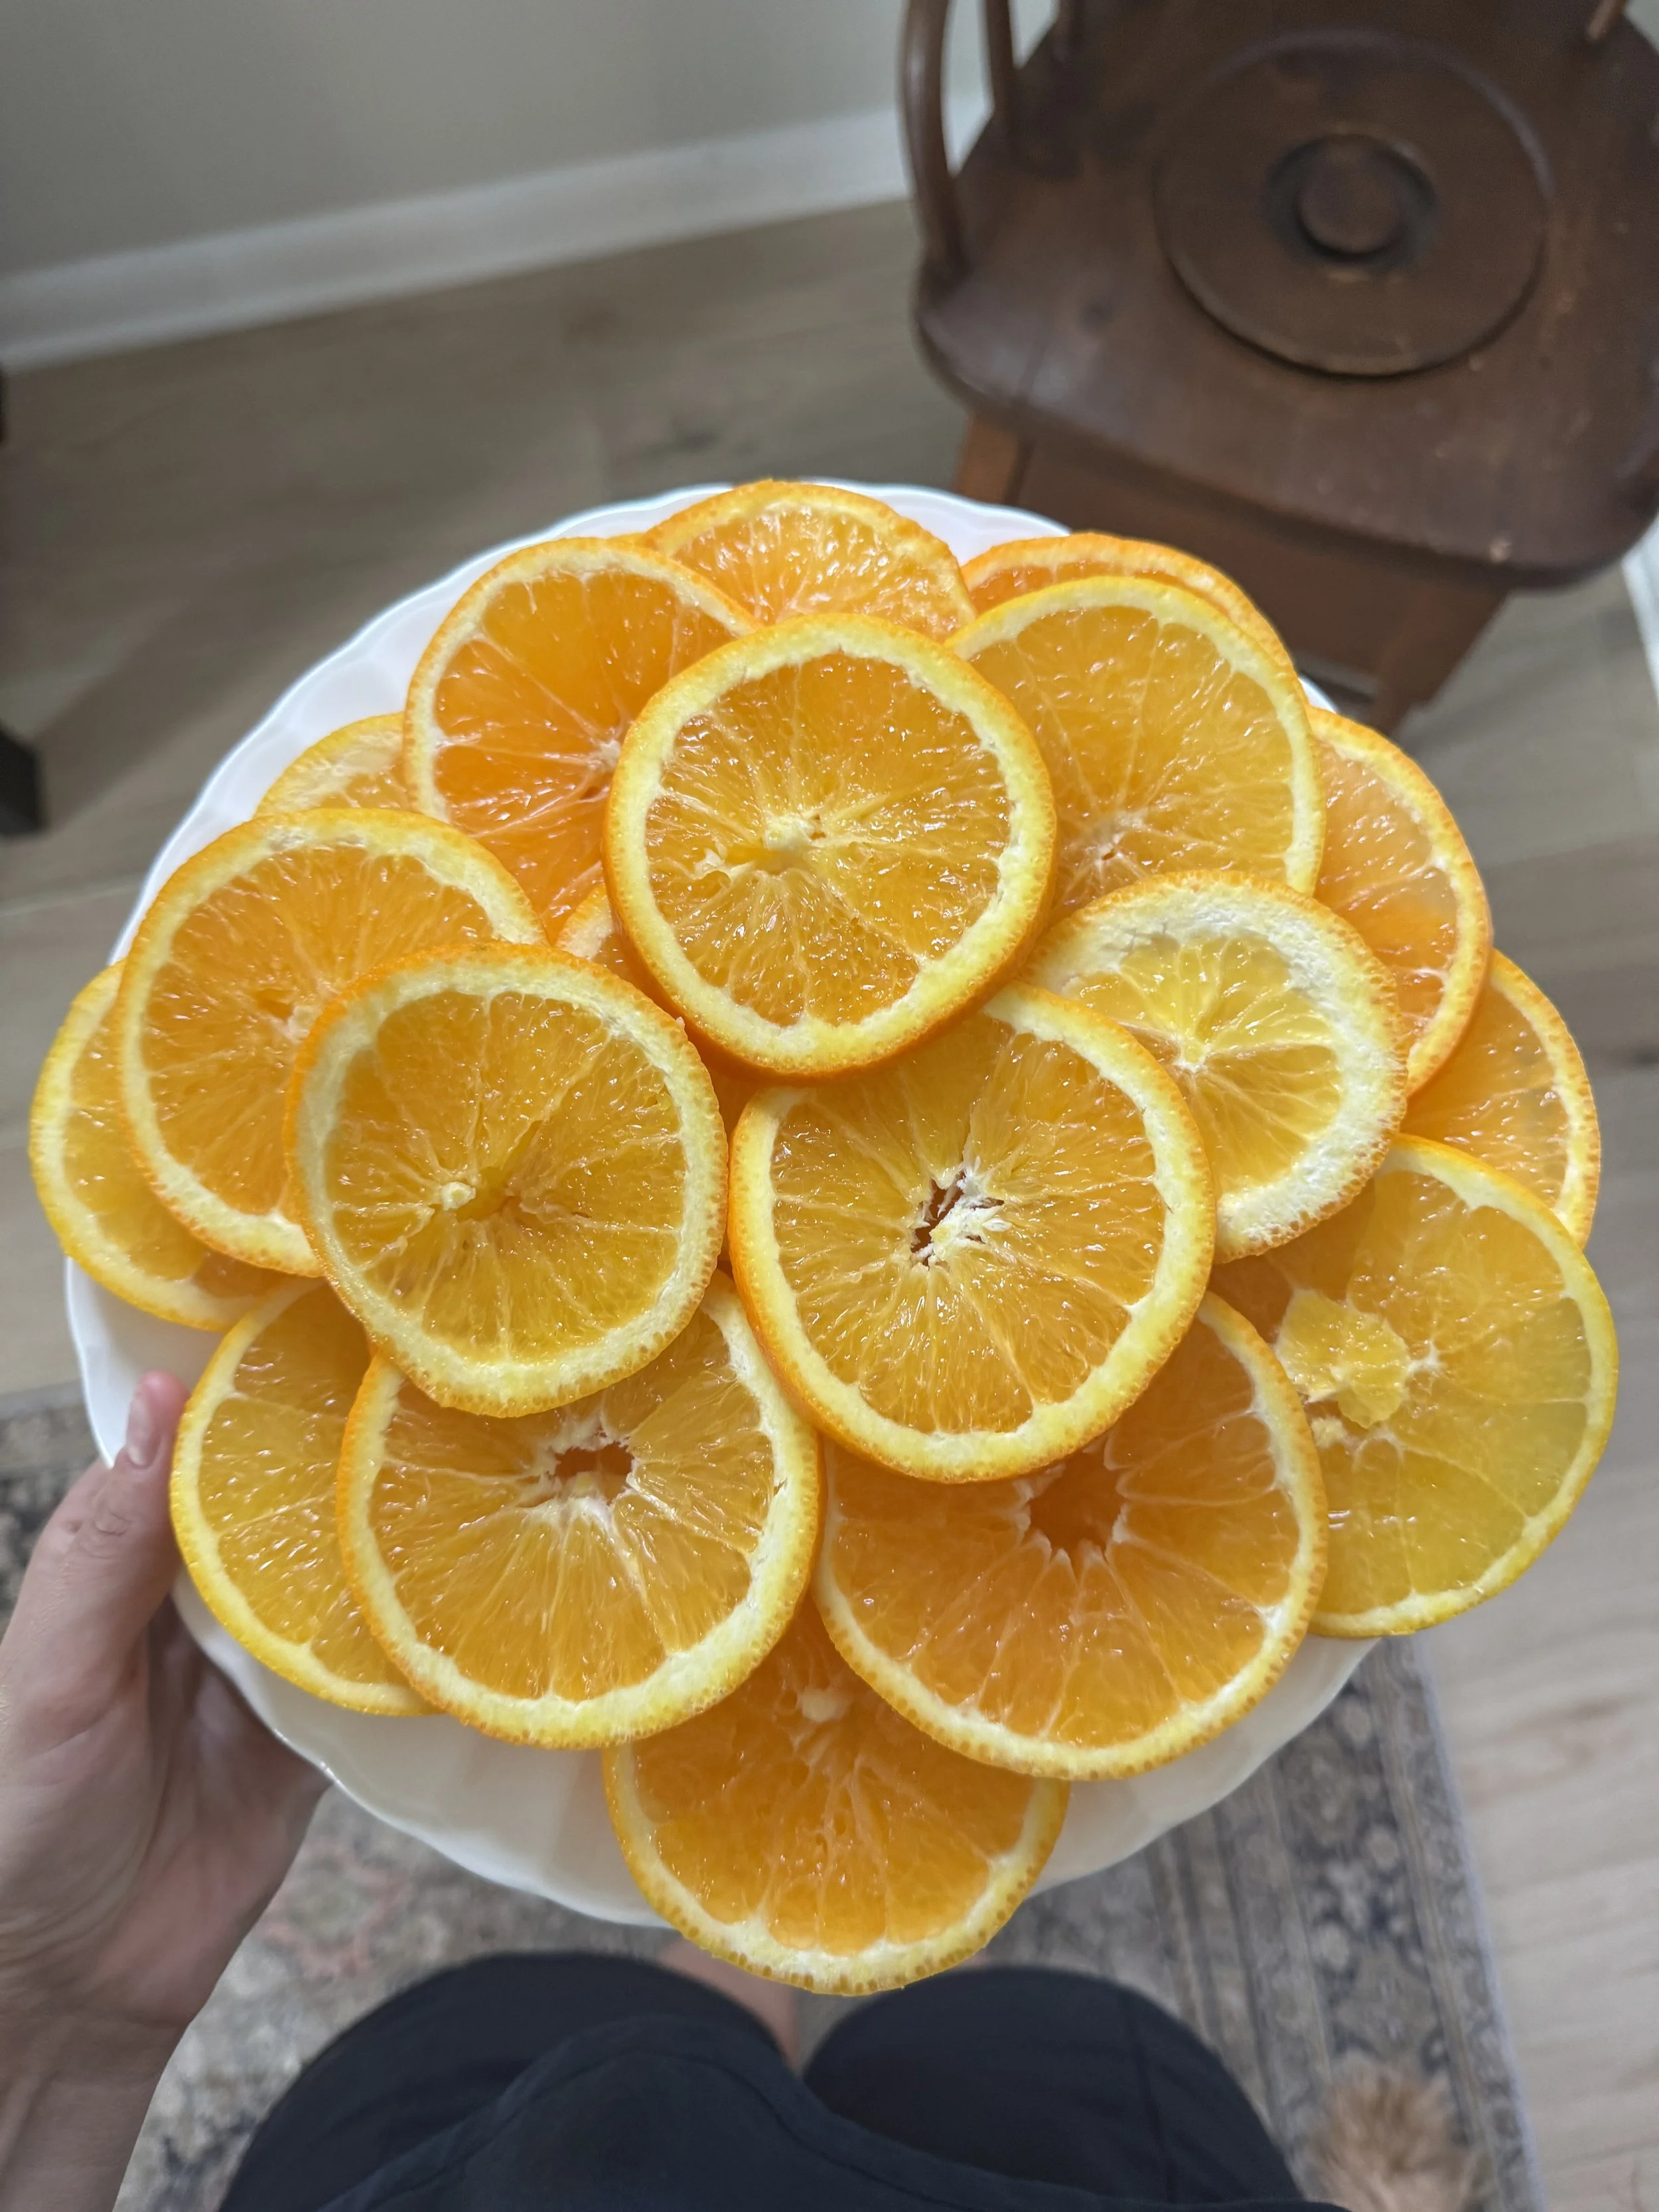
-8 or 9 Naval Oranges (not too juicy! mine were and this definitely made the drying process go much slower)
-Hot Glue Gun
-Velvet Ribbon -I chose brown!
-Wreath frame - I did this 12 inch one from Hobby Lobby
-Baking Sheets + Parchment Paper
How to Dry the Oranges:
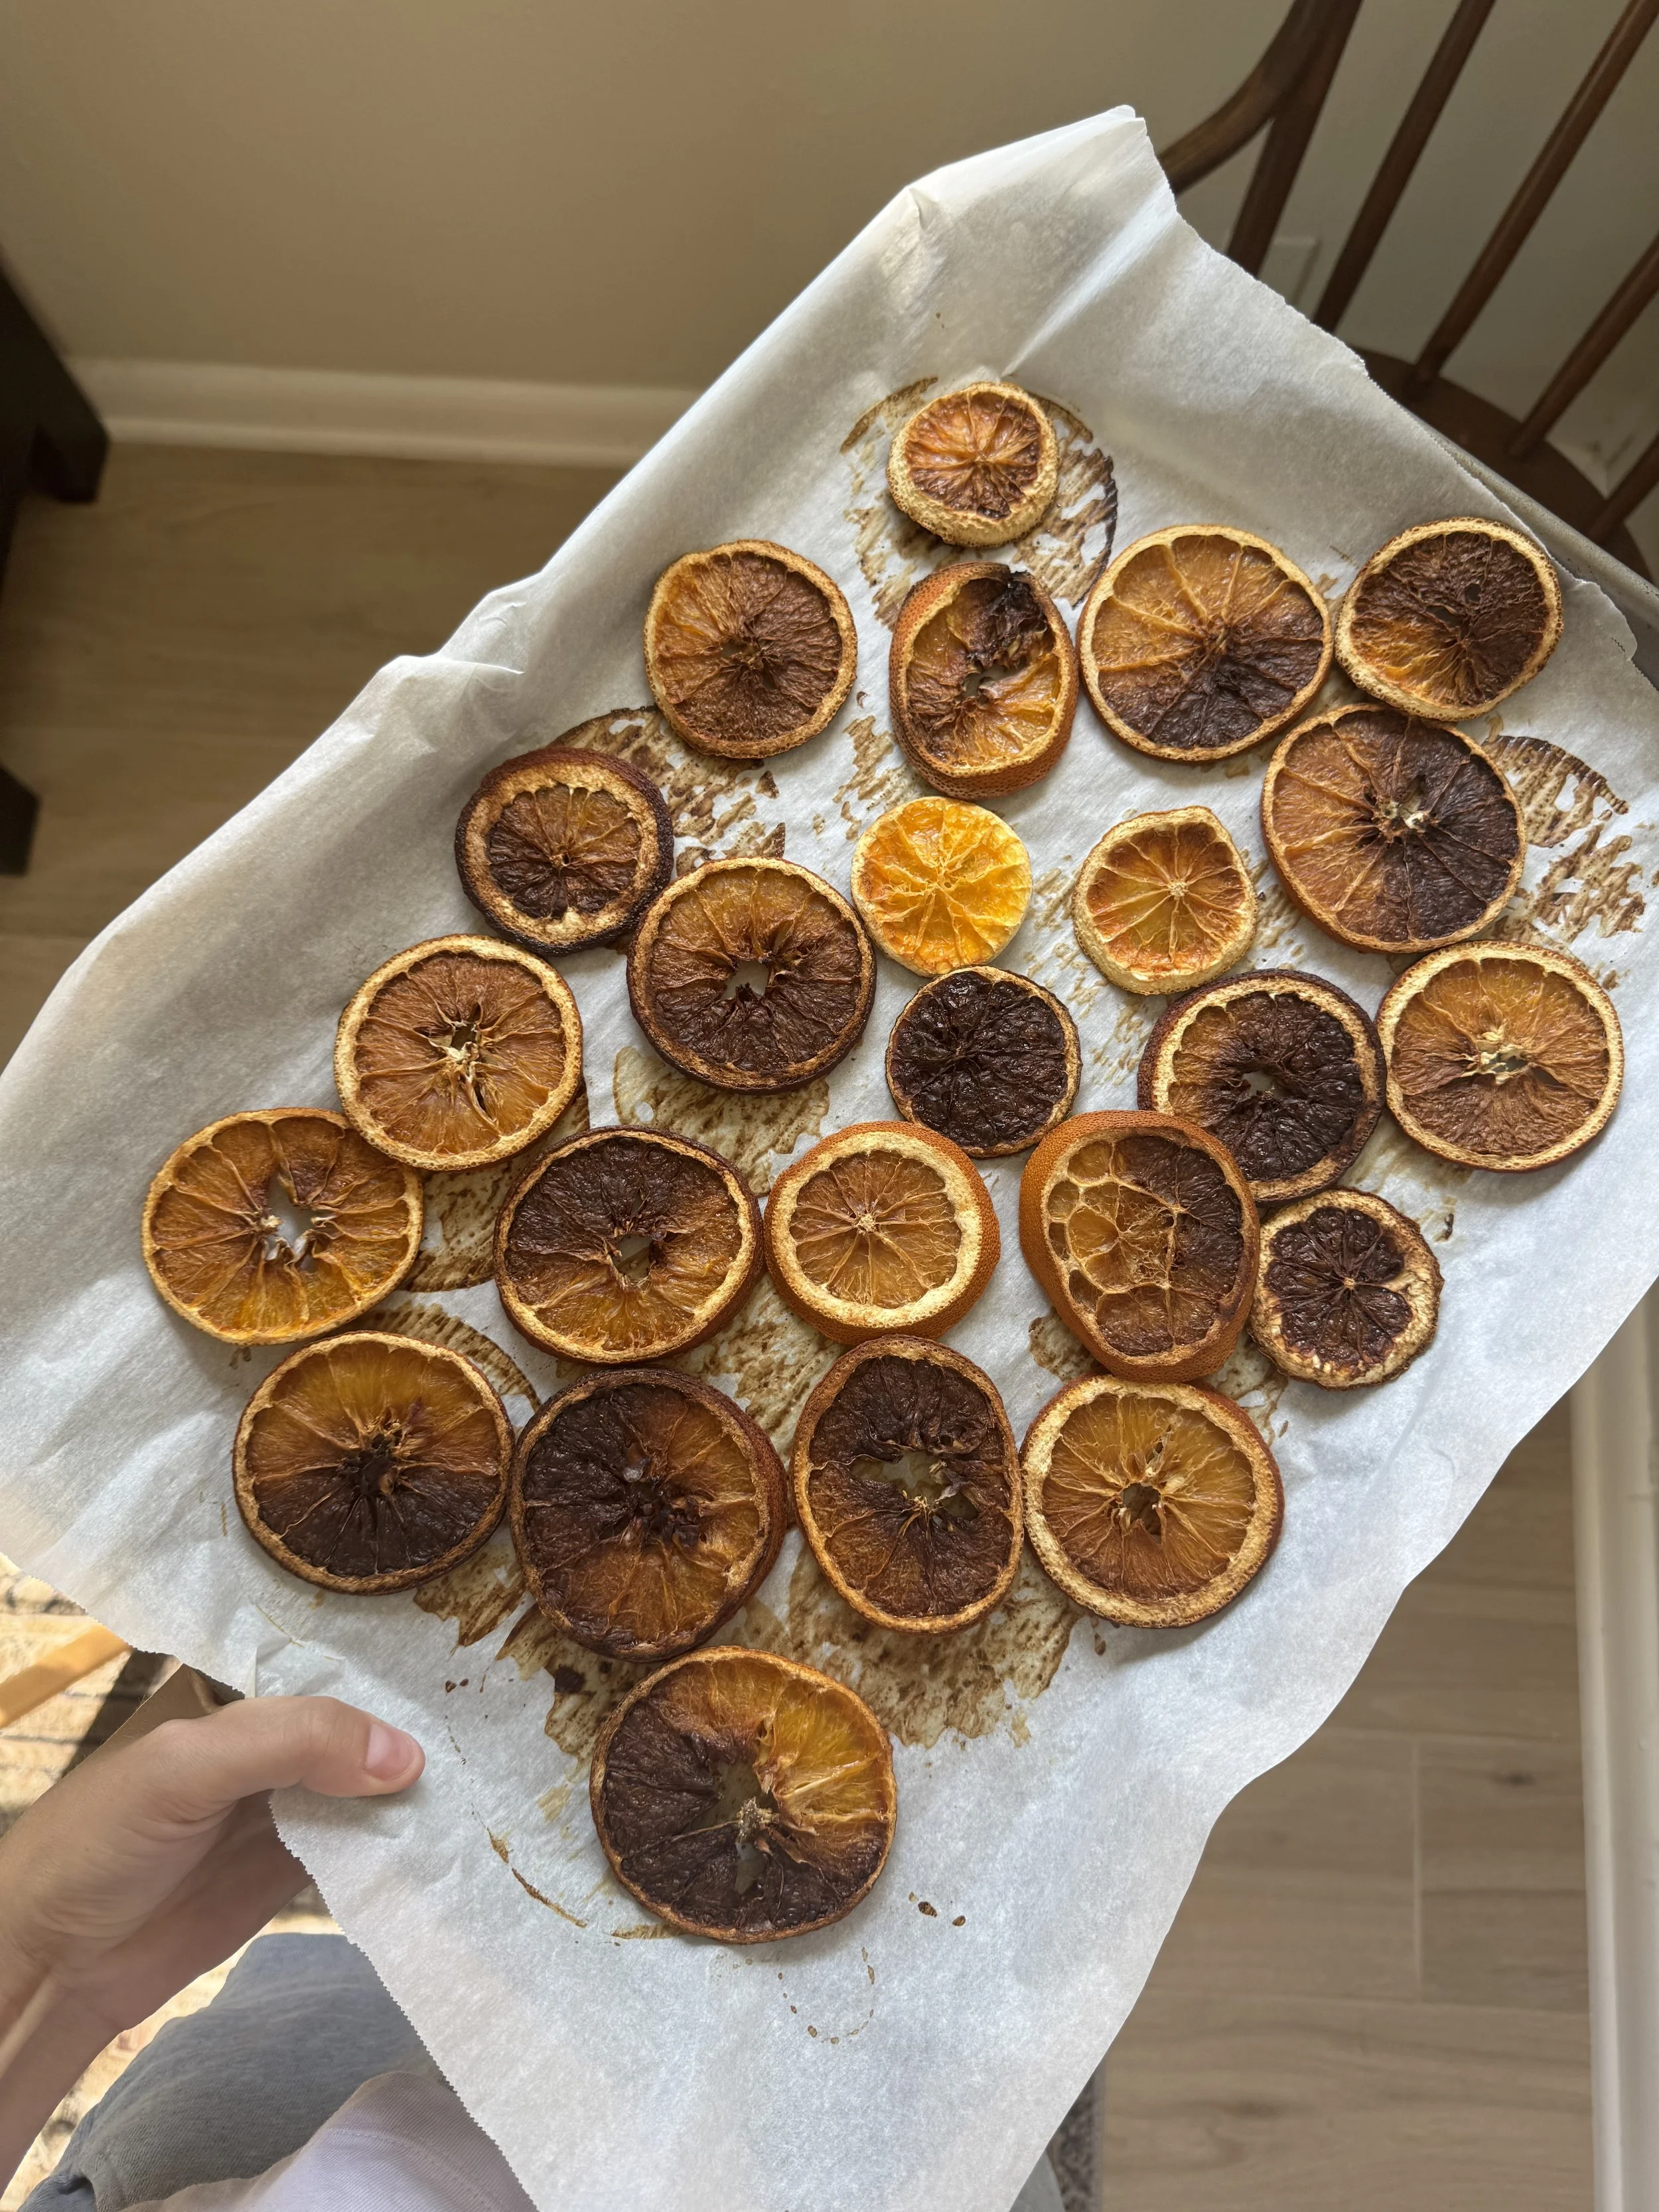
This was trial and error for me- my first batch of oranges was definitely more burnt than I wanted them to be, and thankfully I just ended up using those as the bottom layer. At first, I tried the oven at 220, and thought it would be just an hour on each side of the oranges. At the end of the 2 hours, my oranges were nowhere near dried and I was discouraged because it was almost bedtime so I turned the oven up to 240. This was a mistake and where my oranges began to burn. So, the next day, here’s what I did that worked much better:
Oven at 180 degrees, oranges cut as thin as possible, and plenty of time allocated for cooking! I think I ended up cooking the oranges for closer to 5 or 6 hours at this lower heat, flipping them each hour. This slower, lower method helped the oranges to not get as burned and the bonus is it made my house smell AMAZING! Basically, don’t rush the process.
Making the Wreath:
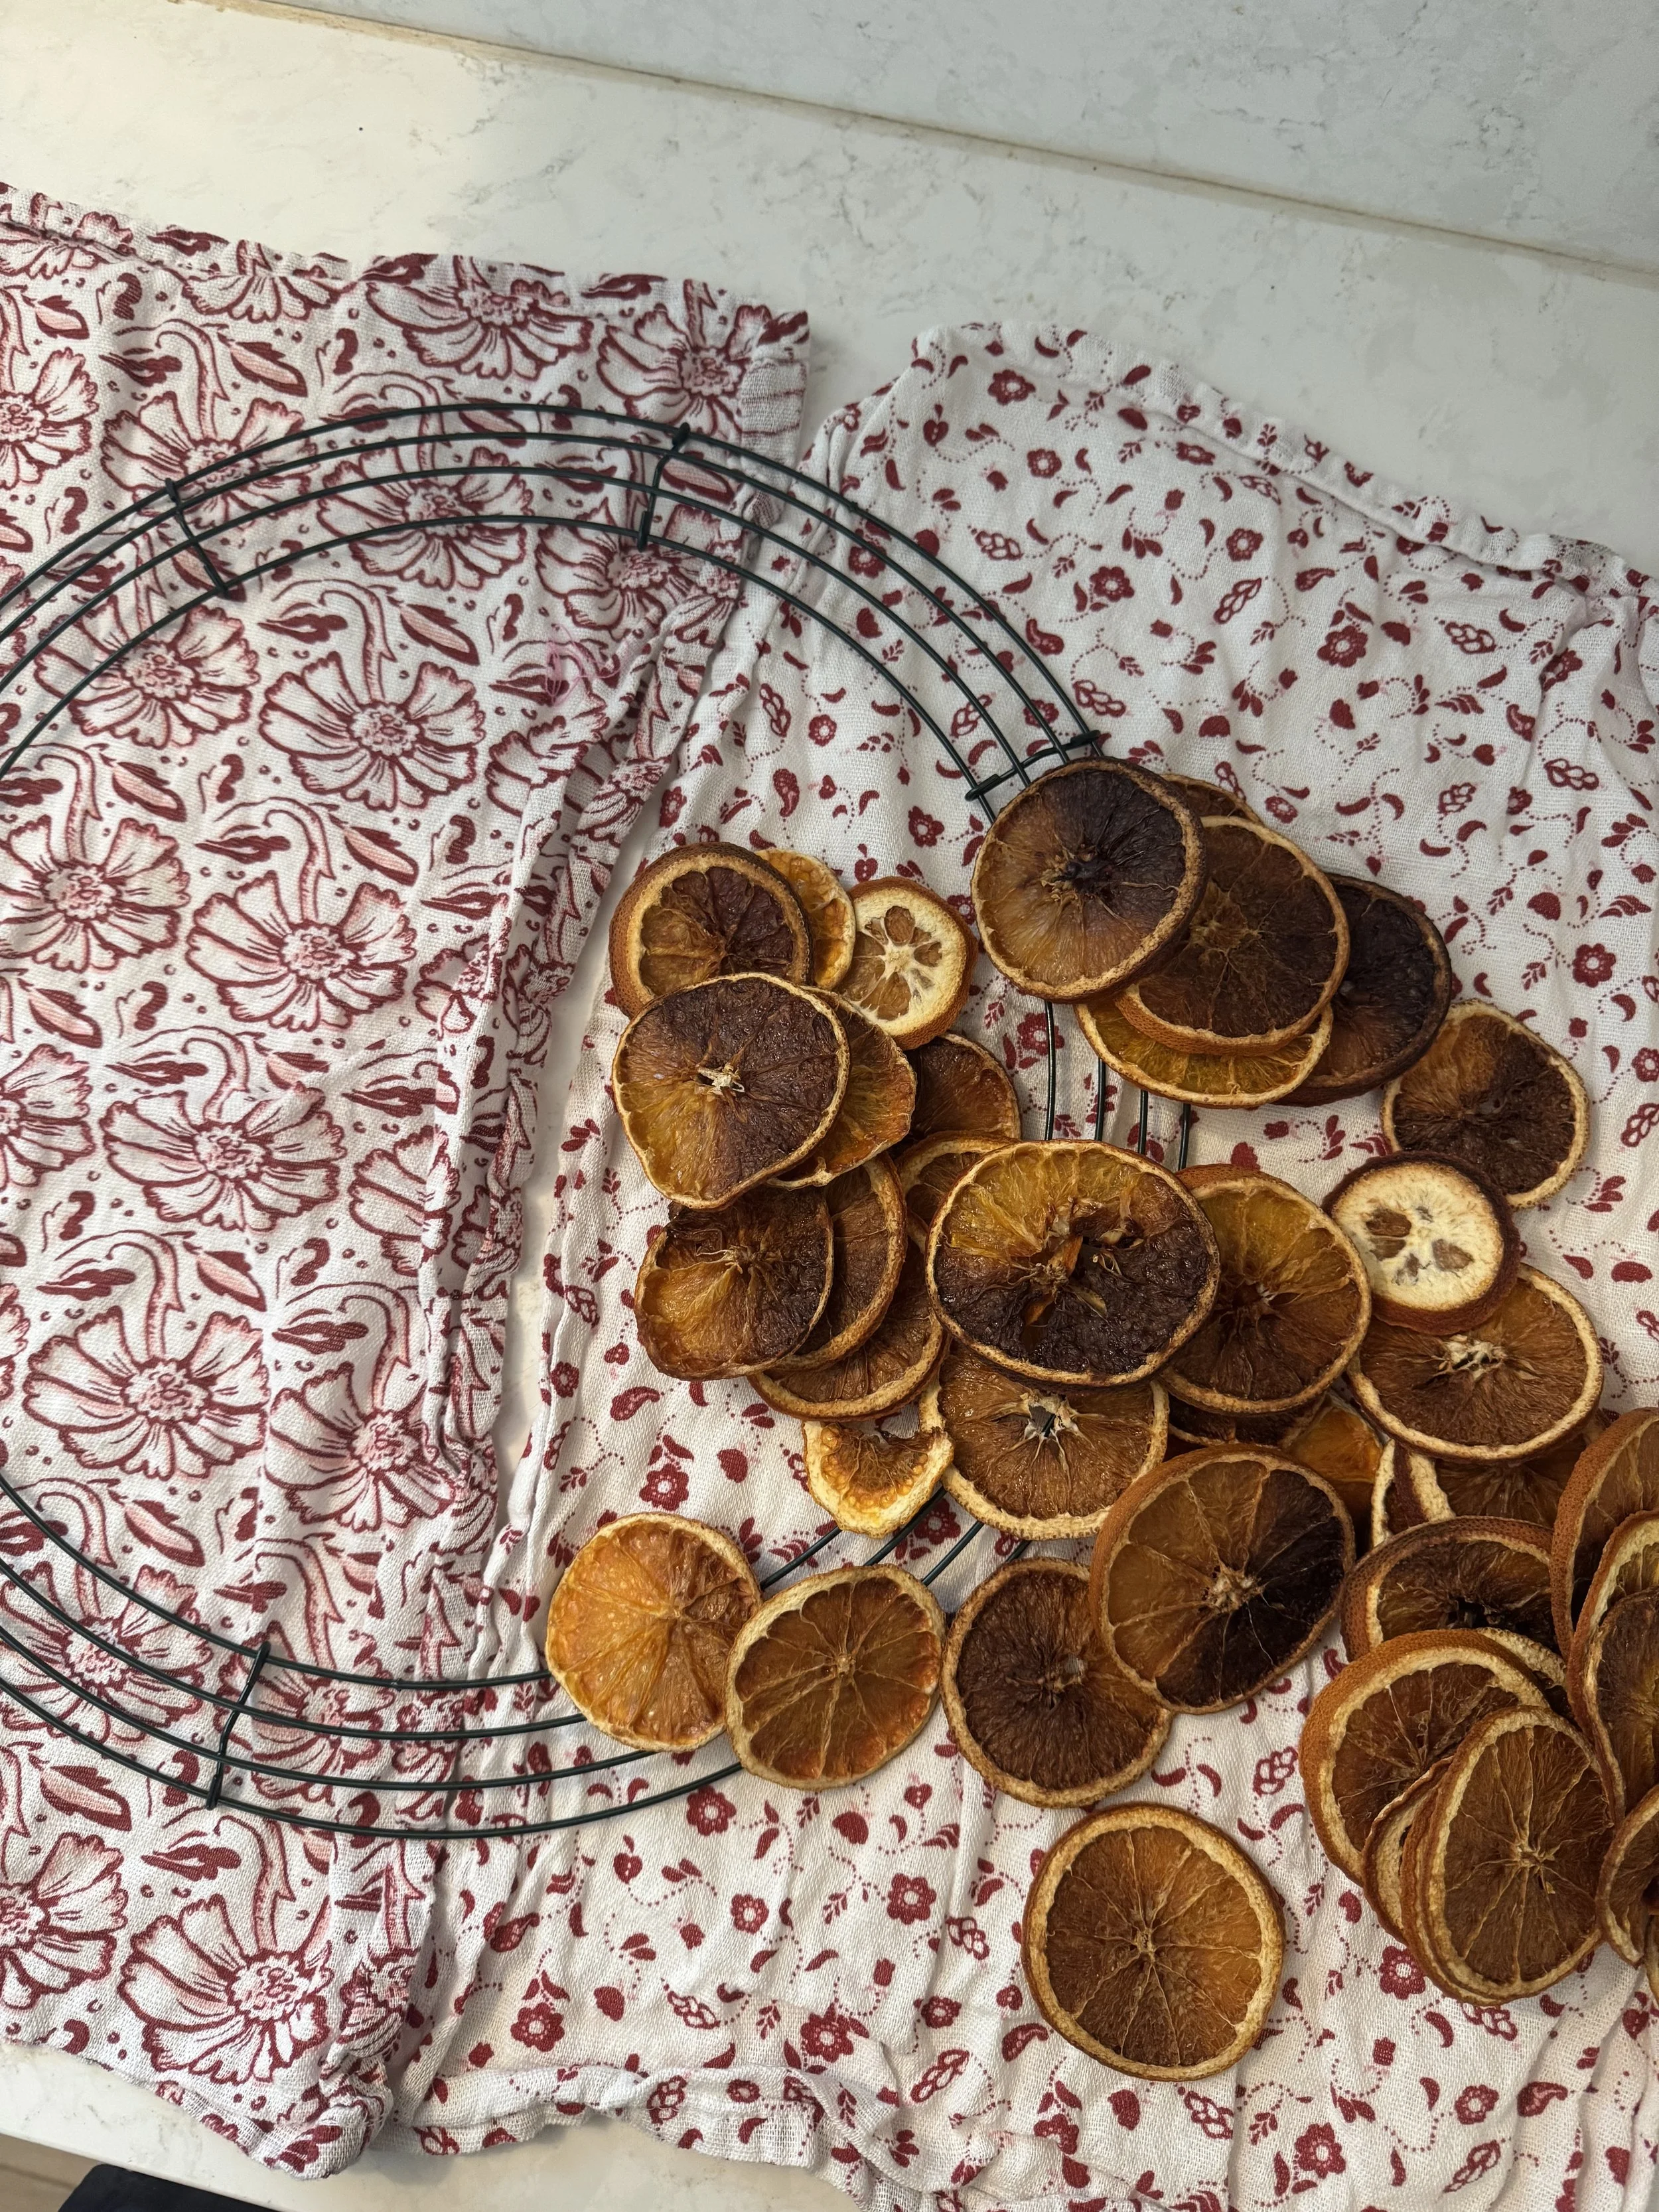
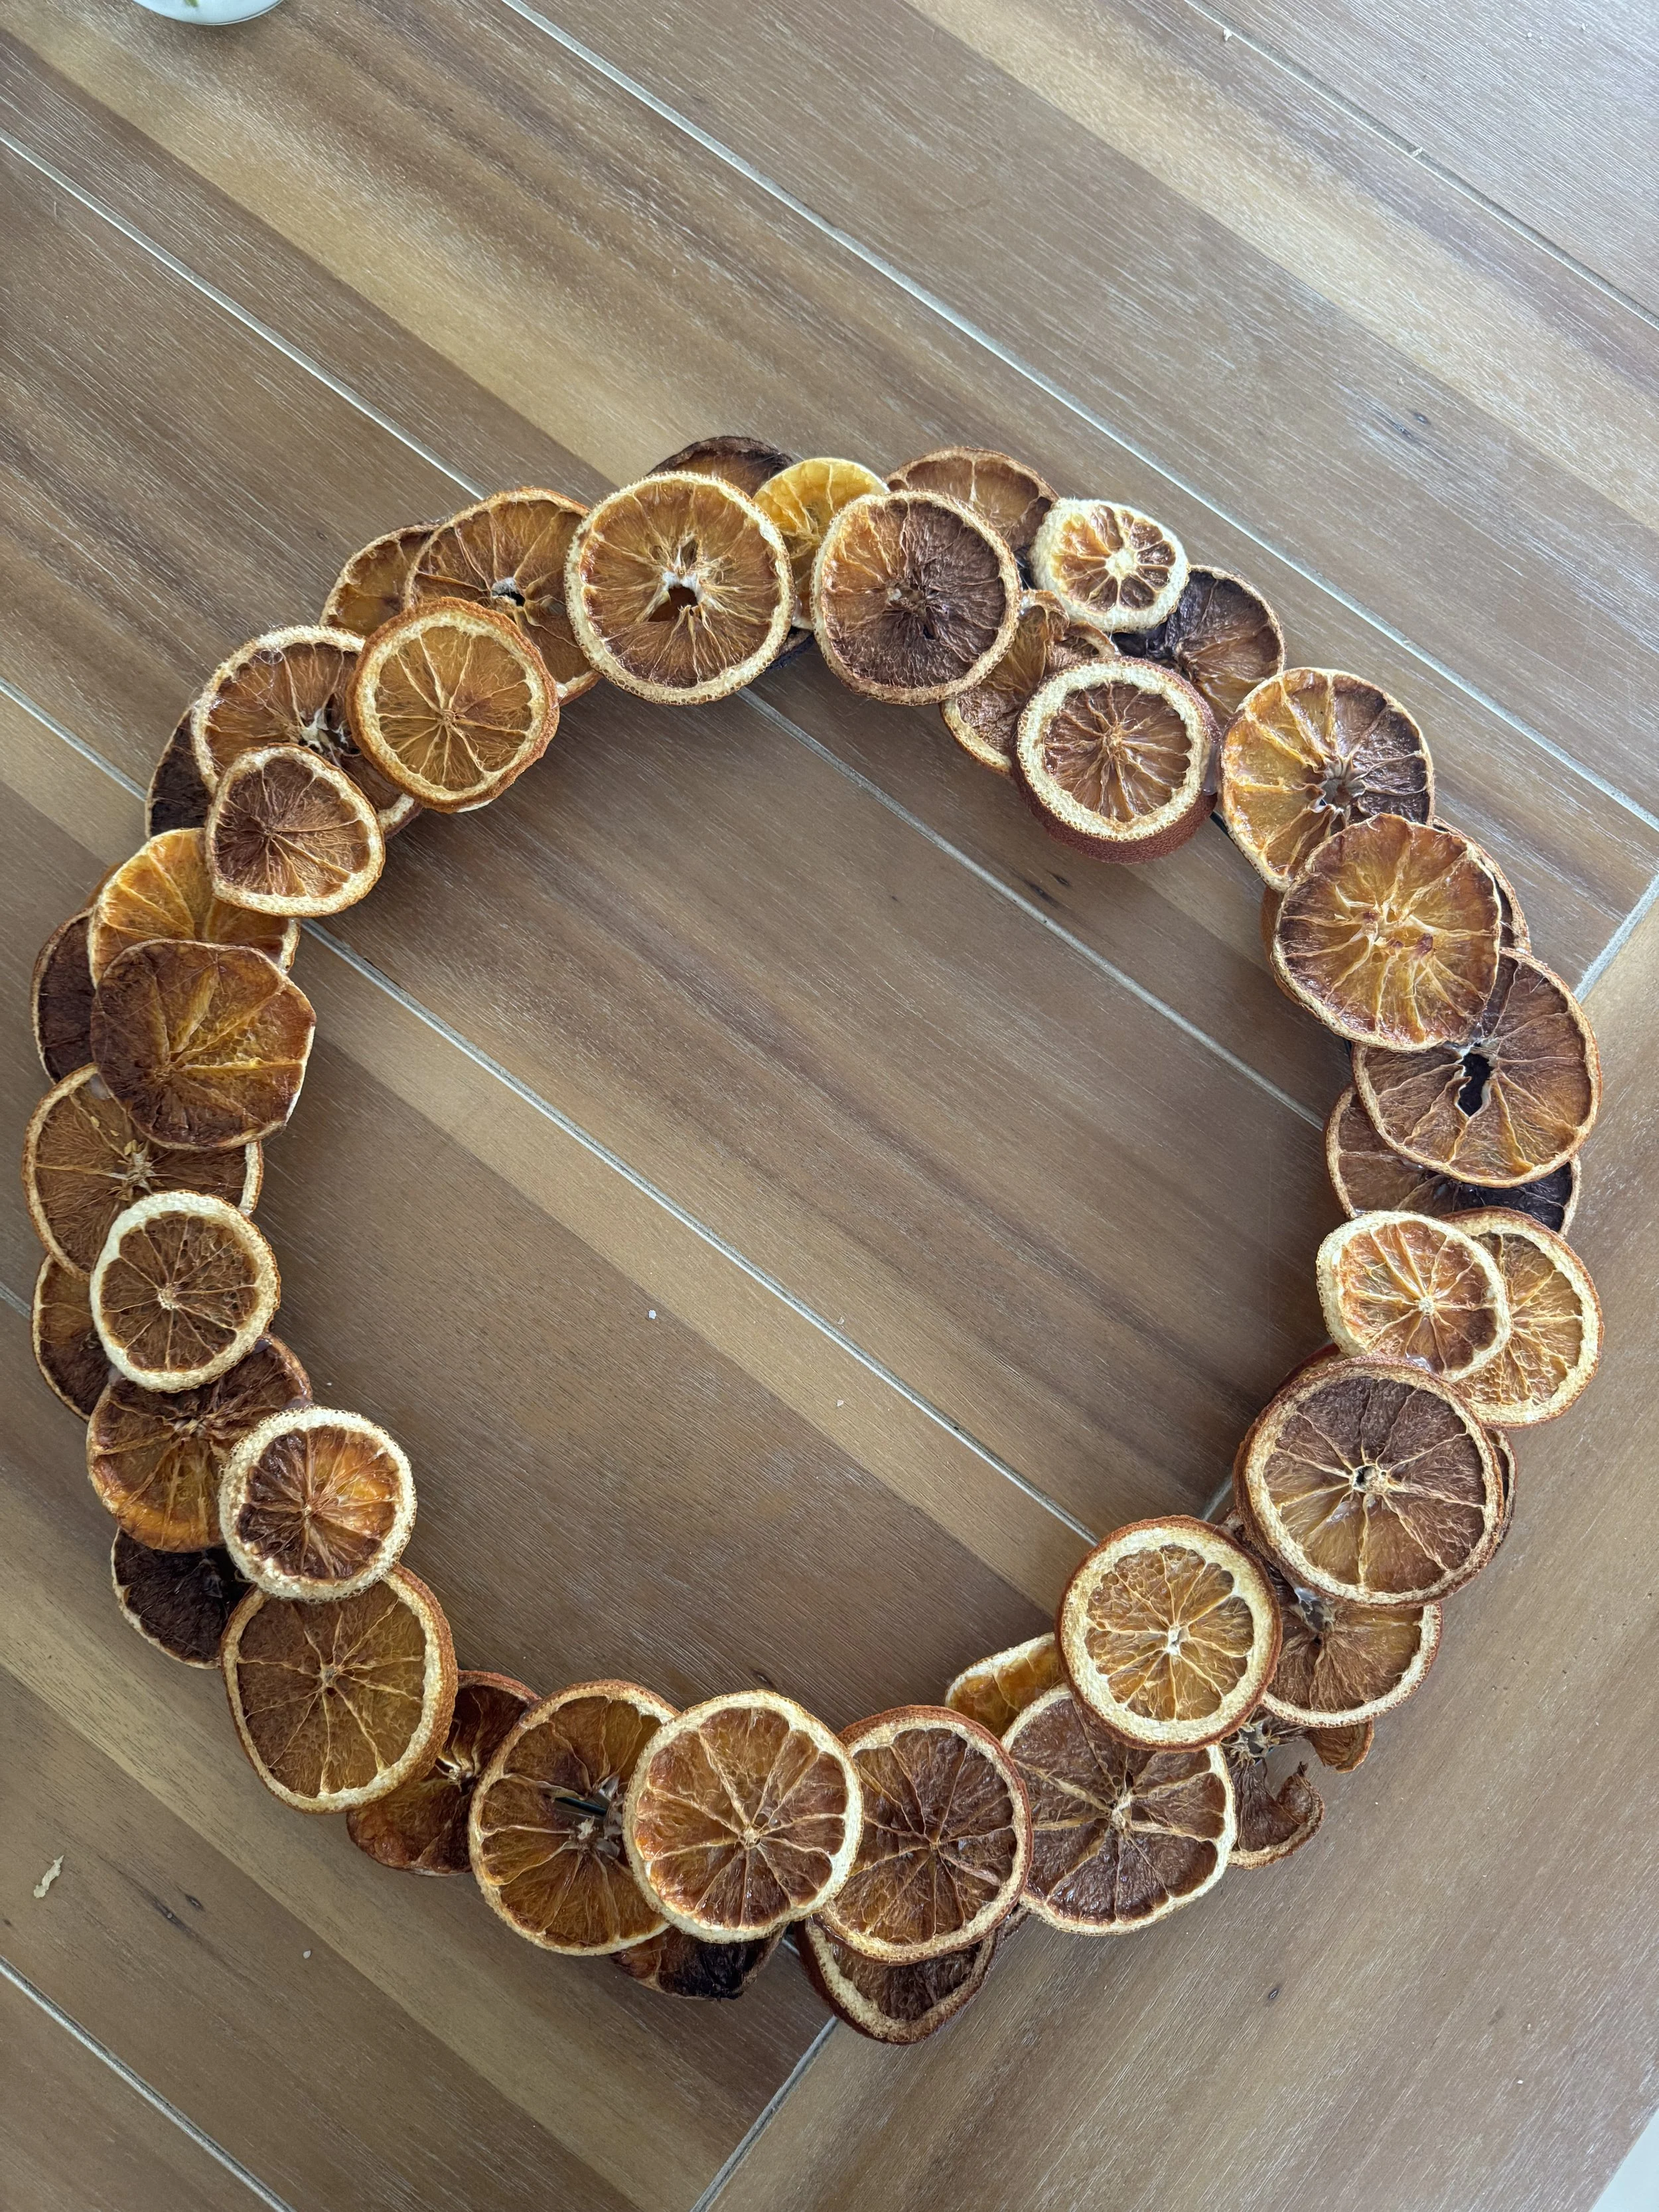
I also took a “wing it” approach to glue the oranges on. I started with the most burned pieces and made a base of oranges, and then just started layering orange pieces until you couldn’t see the wreath base anymore! It was a little tricky to get the oranges to stick perfectly to one another, and the wreath feels a little fragile, so I think I’ll go back and add more glue in a few days. Then, I just created a velvet bow to attach to the top, and that was it! I think the glue part took under an hour and was pretty easy and fun to do!
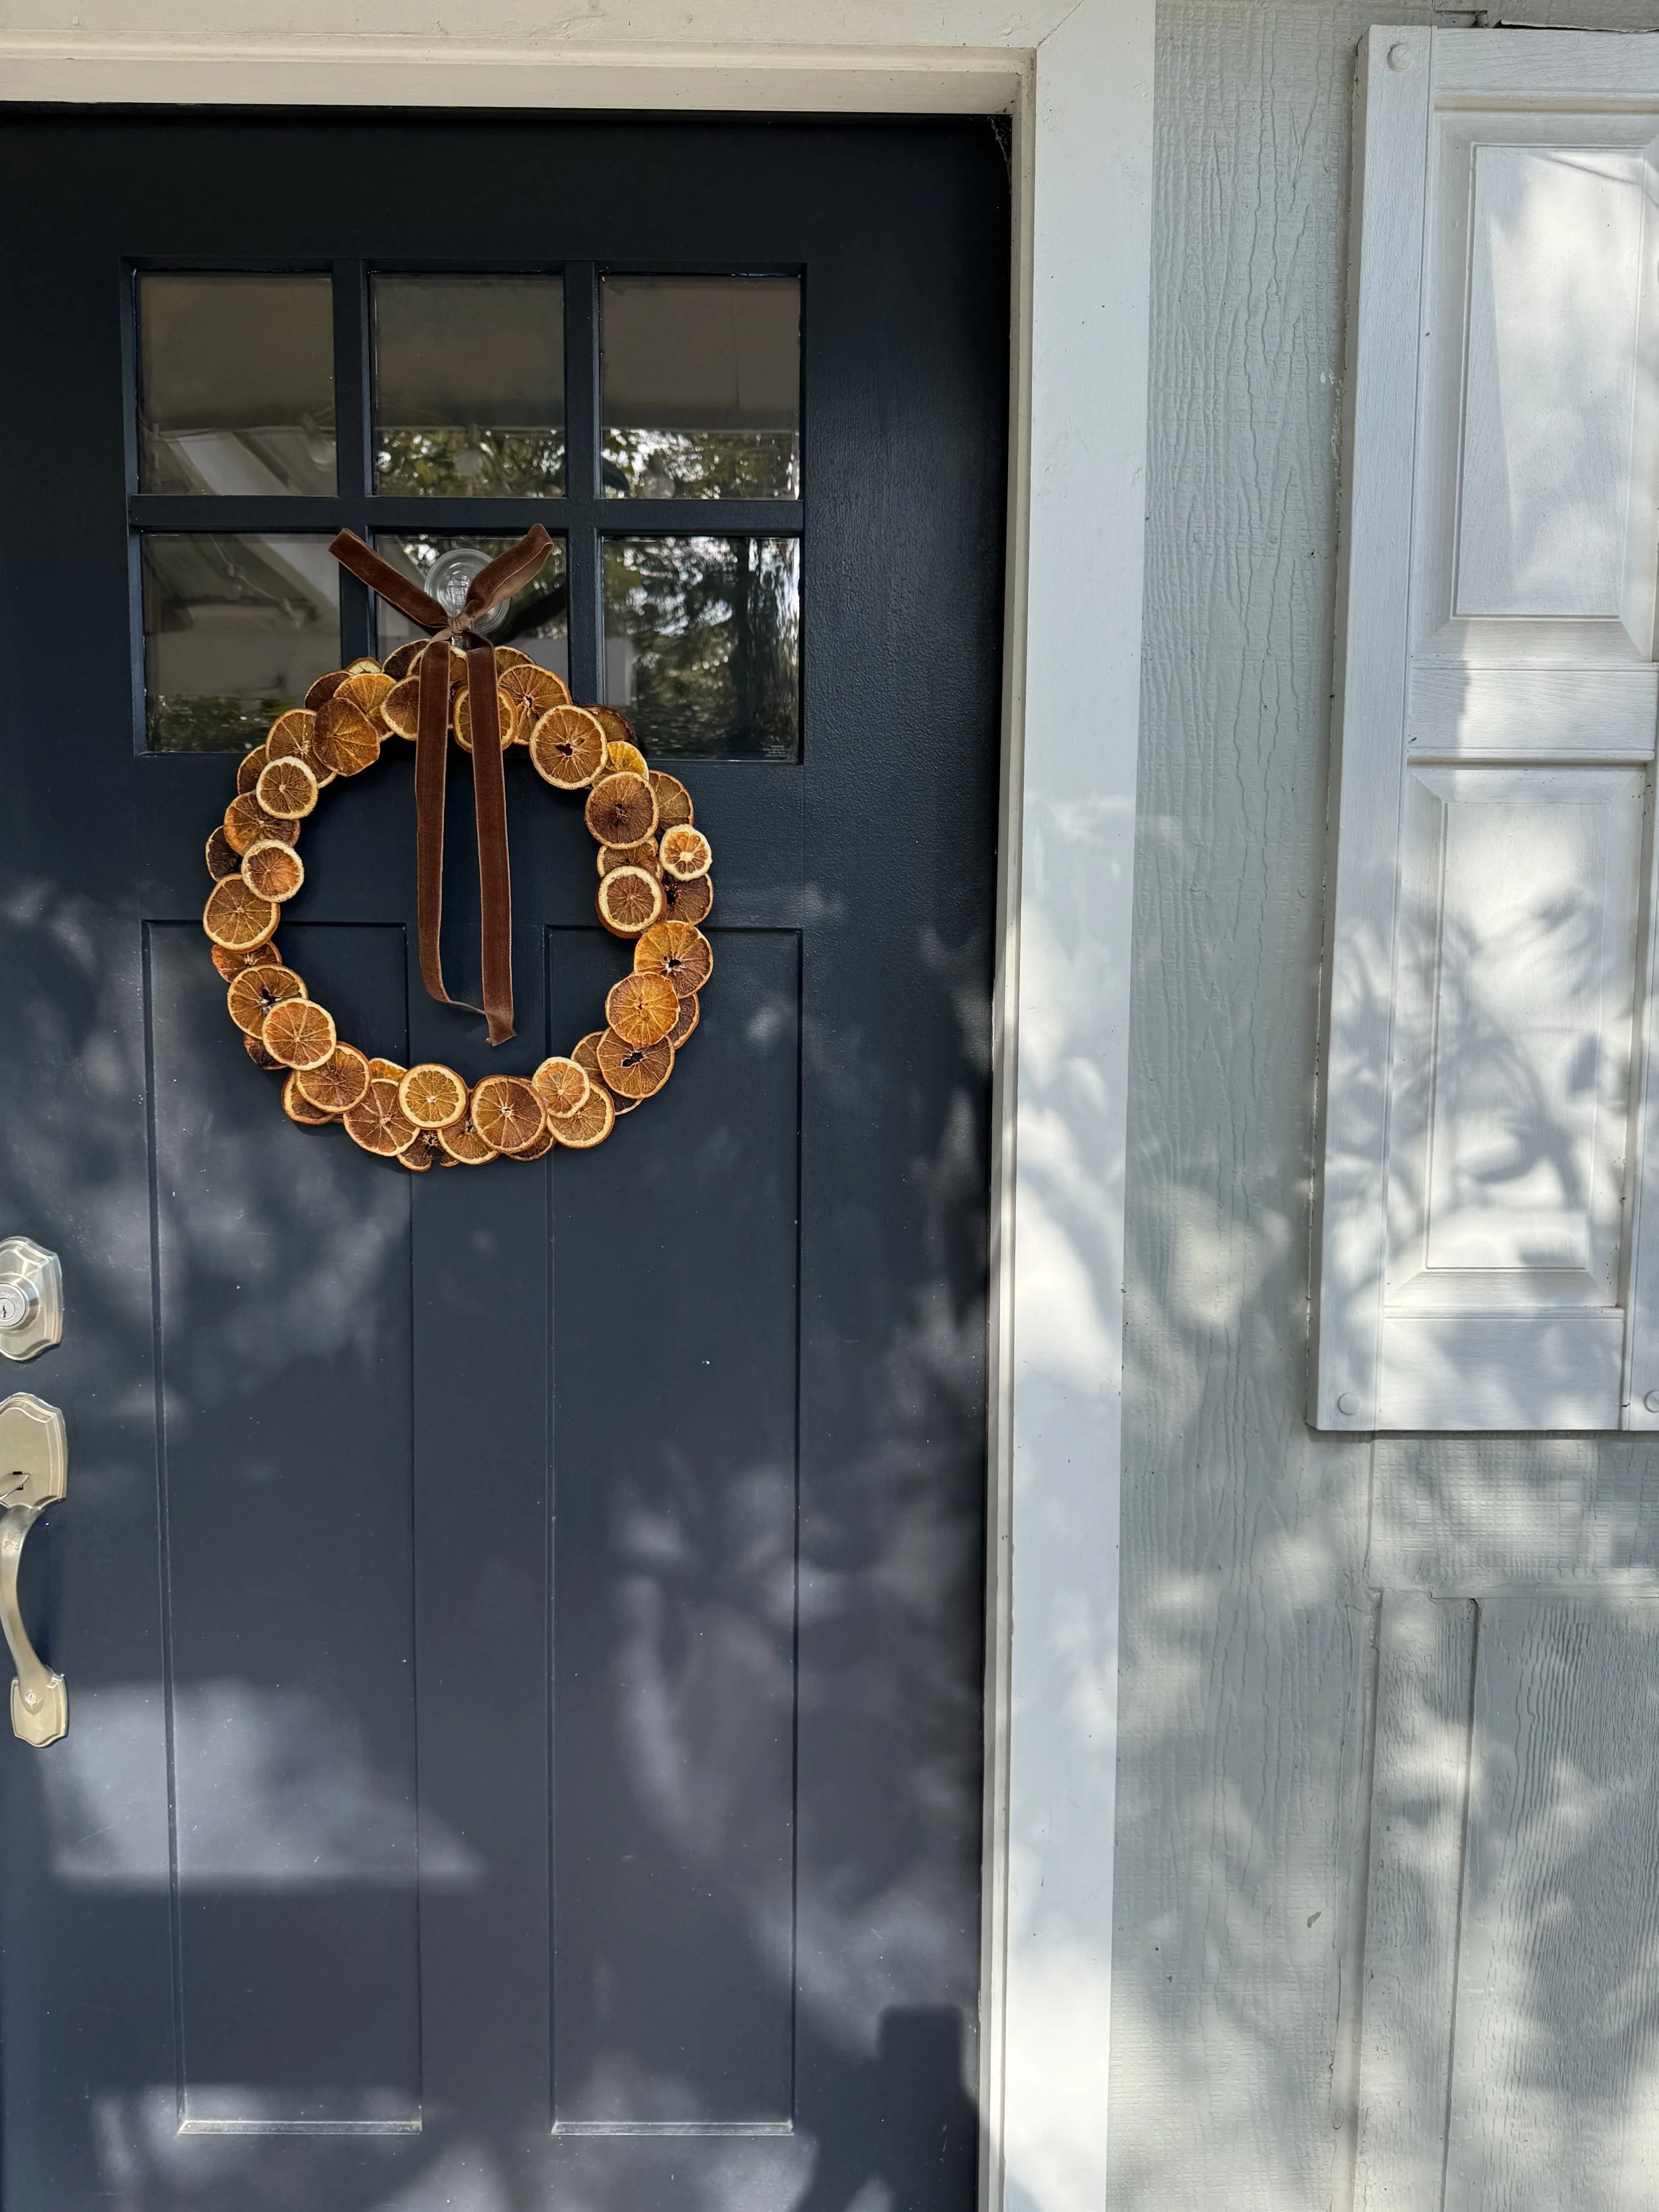
I love the way the wreath turned out, especially with the sun shining on it! It looks much brighter/orangier in the sunshine and I can’t wait to hang this one up for fall!
